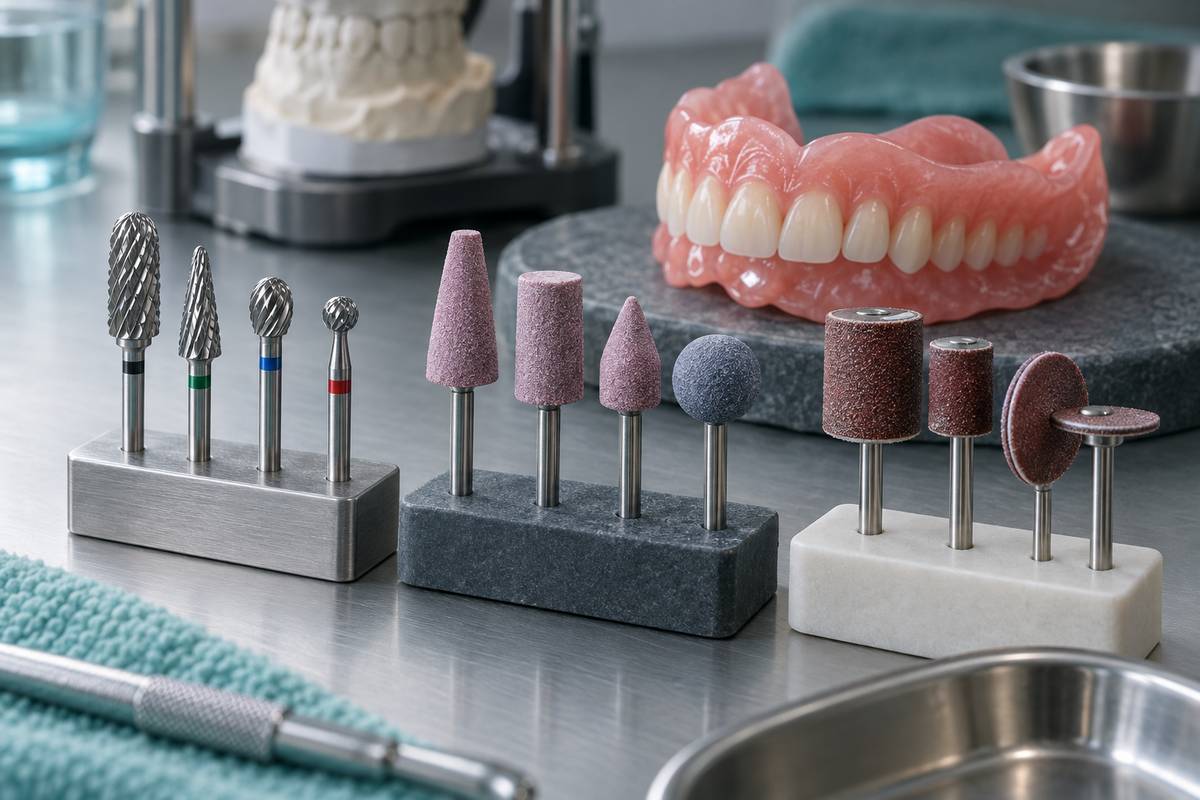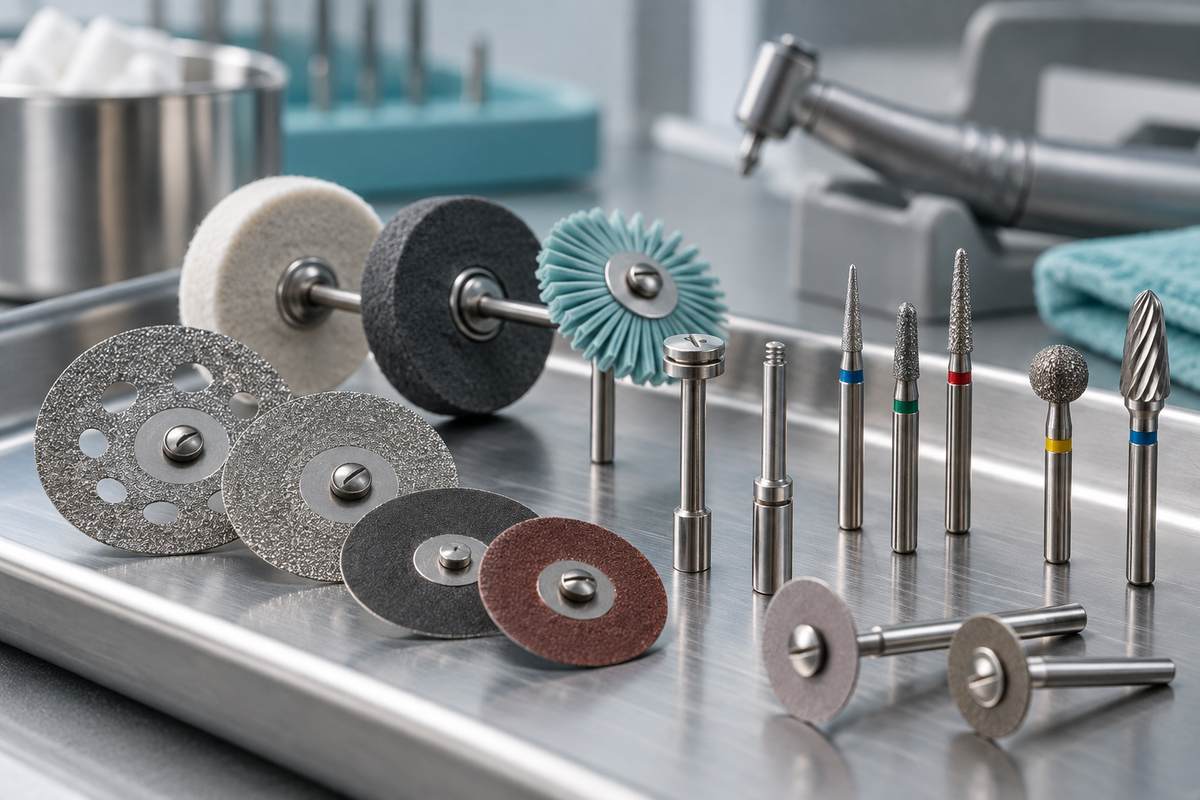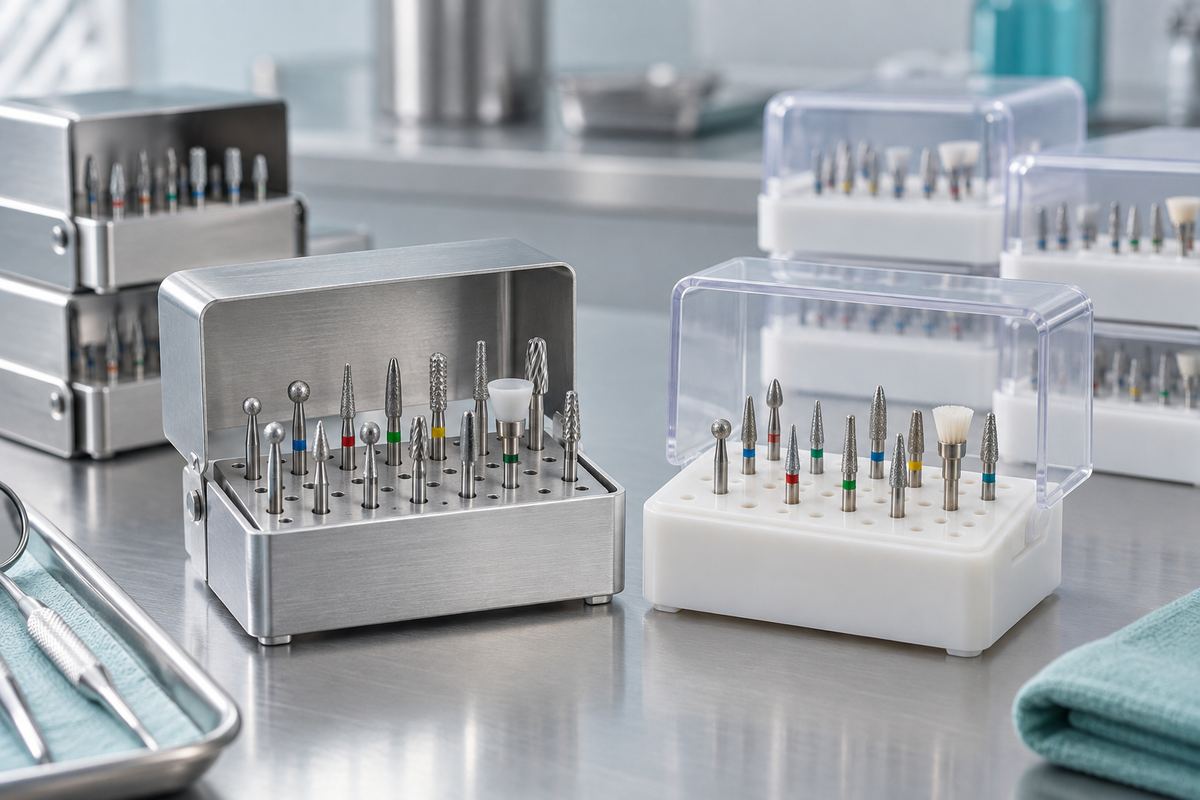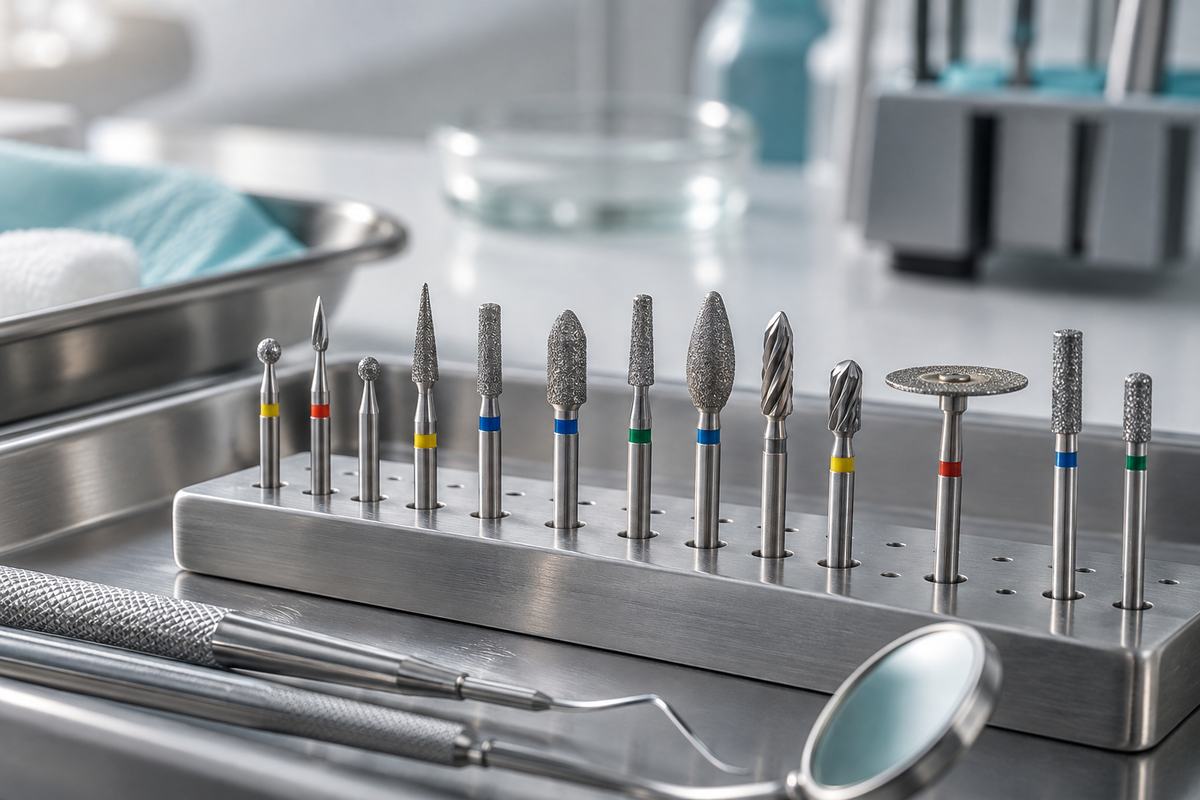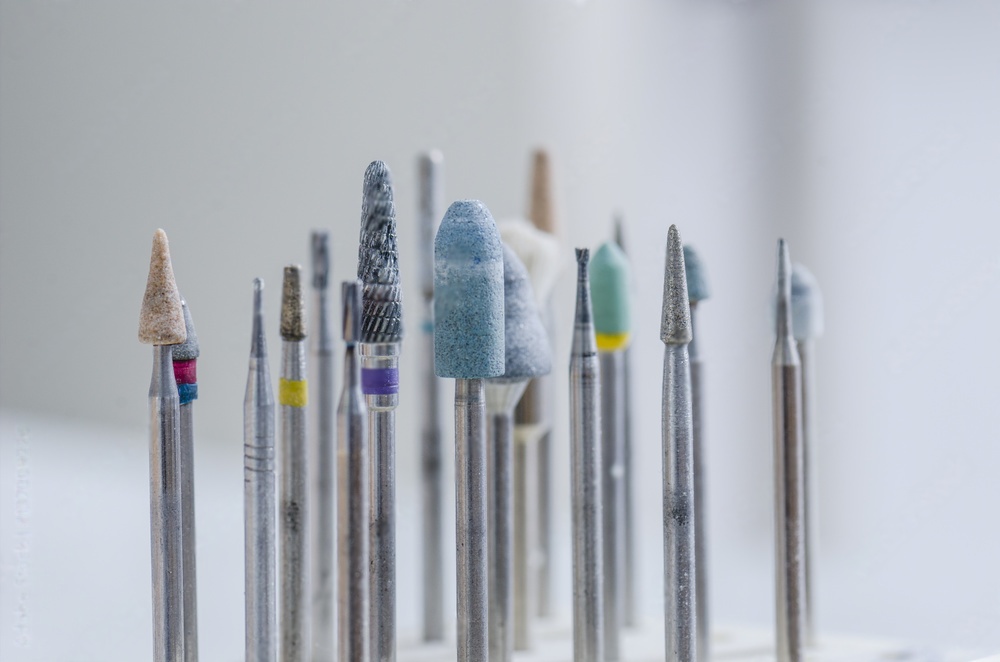
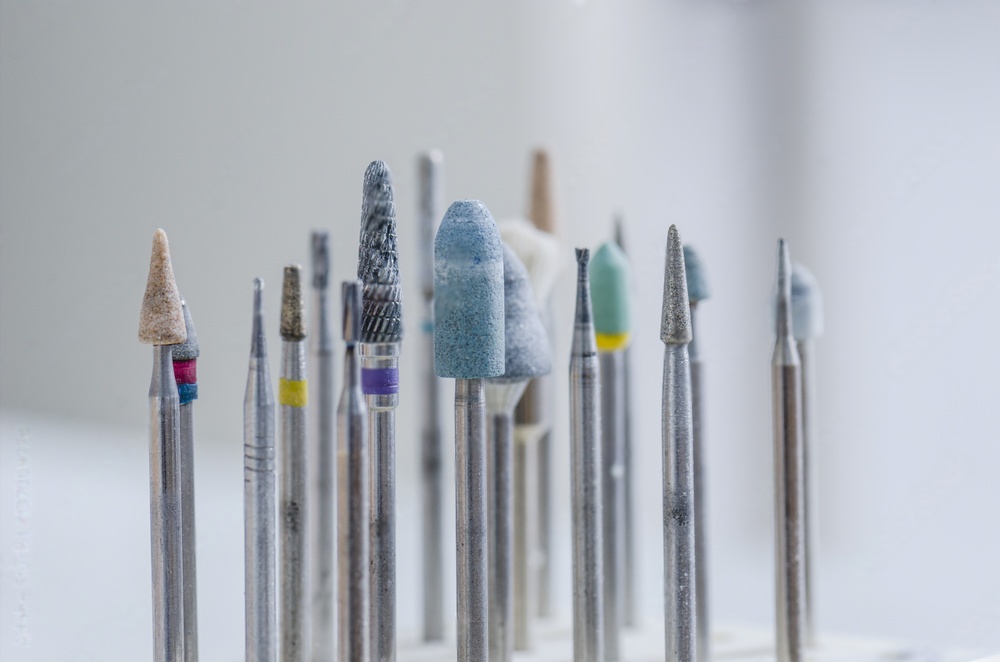
Every dental procedure demands the right instrument, and selecting the correct dental bur can mean the difference between a smooth, efficient treatment and a frustrating result. With hundreds of bur shapes, materials, and grit sizes on the market, knowing which one to reach for requires a systematic approach.
This guide breaks down bur selection into clear decision points: tooth location, material being cut, procedure type, and patient comfort. Whether you are a dental student building your first bur kit or a seasoned practitioner looking to refine your choices, this framework will help you match the right bur to every clinical situation.
Step 1: Assess the Tooth Location
The position of the tooth in the arch is your first decision point. Posterior and anterior teeth present different access challenges, structural characteristics, and esthetic requirements.
Posterior Teeth (Molars and Premolars)
Molars and premolars have thick enamel walls, broad occlusal surfaces, and dense dentin. They require burs that can remove material efficiently under controlled force. Recommended choices include:
- Coarse-grit diamond burs for rapid enamel reduction and crown preparation
- Round carbide burs (sizes 2-8) for caries excavation in deep fissures
- Tapered fissure burs for creating divergent walls in inlay and onlay preparations
Because posterior teeth are harder to access, shorter shank lengths and compact head sizes often provide better visibility and control. For most posterior work, a tungsten carbide bur with a cross-cut pattern delivers efficient bulk removal.
Anterior Teeth (Incisors and Canines)
Anterior teeth have thinner enamel, smaller pulp chambers, and are in the esthetic zone. Precision matters more than cutting speed. Recommended choices include:
- Fine-grit diamond burs for veneer and laminate preparations
- Flame-shaped burs for subgingival margin placement
- Small round burs (sizes 1/4 to 1) for conservative caries removal near the pulp
The key principle is restraint. Aggressive grit or oversized heads risk perforating thin labial walls or damaging adjacent teeth.
Step 2: Match the Bur to the Material
The substrate you are cutting determines which bur material performs best. Using the wrong bur on the wrong material leads to premature wear, overheating, or poor surface finish.
Natural Tooth Structure
For cutting through enamel and dentin, diamond burs are the standard. Their abrasive surface shears through mineralized tissue with less clogging than fluted instruments. Use coarse grit for initial preparation and step down to medium and fine grit for finishing.
Composite Resin
Composite responds well to both diamond and carbide burs, but each serves a different stage. Use a diamond dental bur with fine or extra-fine grit for contouring, then switch to multi-fluted carbide finishing burs (12 or 30 flutes) for a smooth, polished surface. The high flute count prevents the bur from grabbing and pulling chunks of resin.
Metal Restorations (Amalgam, Gold, Base Metal Alloys)
Metals require carbide burs with aggressive cross-cut or plain-cut flute designs. Diamond burs wear out quickly against metal surfaces. For sectioning old amalgam restorations, a straight fissure carbide bur at moderate speed provides clean, controlled cuts.
Ceramics and Zirconia
Zirconia and lithium disilicate crowns need specialized diamond burs designed for high-strength ceramics. Standard diamond burs lose their abrasive coating rapidly on these materials. Sintered diamond burs or coarse-grit bonded diamonds rated for zirconia offer longer service life. For adjusting ceramic restorations chairside, dedicated zirconia polishing systems produce better results than generic instruments.
Step 3: Choose by Procedure Type
Once you know the location and material, the specific procedure narrows your selection further.
Caries Removal and Cavity Preparation
Start with a round diamond or carbide bur to gain access through enamel, then switch to a slow-speed round bur for selective caries removal near the pulp. For detailed guidance on preparation techniques, see our article on cavity preparation techniques.
| Procedure Stage | Recommended Bur | Speed |
|---|---|---|
| Enamel access | Round diamond, coarse grit | High speed |
| Dentin excavation | Round carbide #2-6 | Slow speed |
| Wall finishing | Straight fissure, fine grit | High speed |
| Margin refinement | Flame diamond, fine grit | High speed |
Crown and Bridge Preparation
Taper-shaped diamond burs are the workhorse for crown preps. A coarse-grit tapered bur with a rounded end creates the initial reduction, while a fine-grit version of the same shape refines the margins. Depth-cutting guides built into some bur sets help maintain uniform reduction.
Finishing and Polishing
After the primary preparation is complete, finishing burs smooth the surface and refine margins. Multi-fluted carbide burs (12-30 flutes) leave a surface smooth enough to reduce microleakage at the restoration interface. Football-shaped and egg-shaped finishing burs work well for concave occlusal anatomy. For more on finishing techniques, read our guide to finishing carbide burs.
Endodontic Access
Access openings require a specific sequence: a round diamond to penetrate enamel, followed by an Endo-Z bur to shape the access cavity without perforating the pulp floor. The Endo-Z has a non-cutting tip that acts as a safety feature against accidental perforation.
Step 4: Factor in Patient Comfort
Bur selection affects the patient experience in ways that go beyond cutting efficiency.
Vibration and Noise
Large-head burs at high speed generate more vibration and noise, which increases patient anxiety. When working near sensitive areas, smaller bur heads reduce vibration. Air-turbine handpieces generally run quieter than electric handpieces at full torque, though electric handpieces offer more consistent cutting power.
Heat Generation
Friction from the bur creates heat that can damage the pulp. To minimize thermal injury:
- Use water spray irrigation at all times during high-speed cutting
- Apply light, intermittent pressure rather than sustained force
- Select the appropriate grit -- coarser grits cut faster with less heat buildup per unit of material removed
- Replace worn burs promptly, as dull instruments require more pressure and generate more heat
Soft Tissue Protection
Burs with smooth, non-cutting necks reduce the risk of lacerating the gingiva or cheek tissue during subgingival preparations. Chamfer-end burs are generally safer near soft tissue than flat-end designs.

Step 5: Build a Practical Bur Kit
Rather than stocking every bur available, build a core kit that covers most procedures, then add specialty burs as needed.
Essential Burs for General Practice
| Bur Type | Shape | Primary Use |
|---|---|---|
| Diamond, coarse | Round | Caries access, gross reduction |
| Diamond, coarse | Tapered with rounded end | Crown preparation |
| Diamond, fine | Flame | Margin finishing, veneer prep |
| Carbide, cross-cut | Fissure | Amalgam removal, cavity prep |
| Carbide, 12-flute | Egg or football | Composite finishing |
| Carbide, round | Round #2, #4, #6 | Caries excavation at slow speed |
Understanding dental bur types and their intended applications will help you make confident selections during any procedure.
Common Selection Mistakes to Avoid
Even experienced clinicians sometimes default to familiar burs instead of choosing the right one. Watch out for these common errors:
- Using a fine-grit bur for bulk reduction -- this overworks the bur, generates excessive heat, and takes longer
- Continuing with a worn bur -- dull diamonds and chipped carbides require more force and produce rougher surfaces
- Ignoring shank compatibility -- make sure the bur shank (FG, RA, or HP) matches your handpiece type
- Skipping the finishing step -- jumping from preparation to impression without proper finishing leads to marginal gaps and poor adaptation
Summary
Selecting the right dental bur follows a logical sequence: assess the tooth location, identify the material, determine the procedure, and consider patient comfort. By working through these decision points consistently, you will reach for the right bur every time -- reducing chair time, improving outcomes, and extending the useful life of your instruments.
Need help choosing? Explore dental burs for clinic and lab — we carry every shape and shank type.