
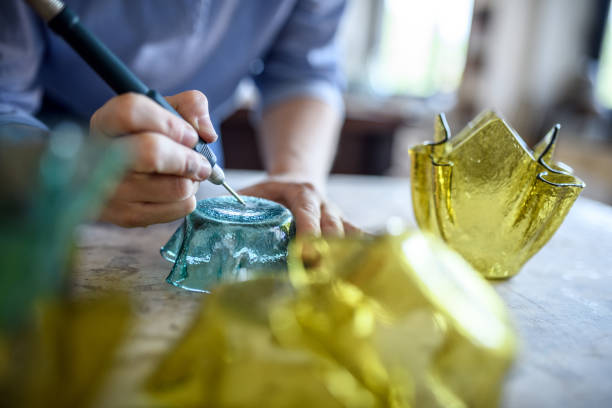
Glass Engraving: A Timeless Craft Made Accessible
Glass engraving has been practiced for thousands of years, from ancient Roman diatreta vessels to modern personalized gifts. What once required years of apprenticeship can now be done at home with a rotary tool and the right set of diamond burs. Whether you want to personalize wine glasses, create decorative panels, or add custom designs to glassware, this guide walks you through every step of the process.
Tools and Materials You Will Need
Before starting any glass engraving project, gather these items:
- Dust mask -- glass dust is a serious respiratory hazard
- Safety glasses or eye protector -- small glass particles can fly during engraving
- Rotary tool or electric drill -- a variable-speed model gives better control
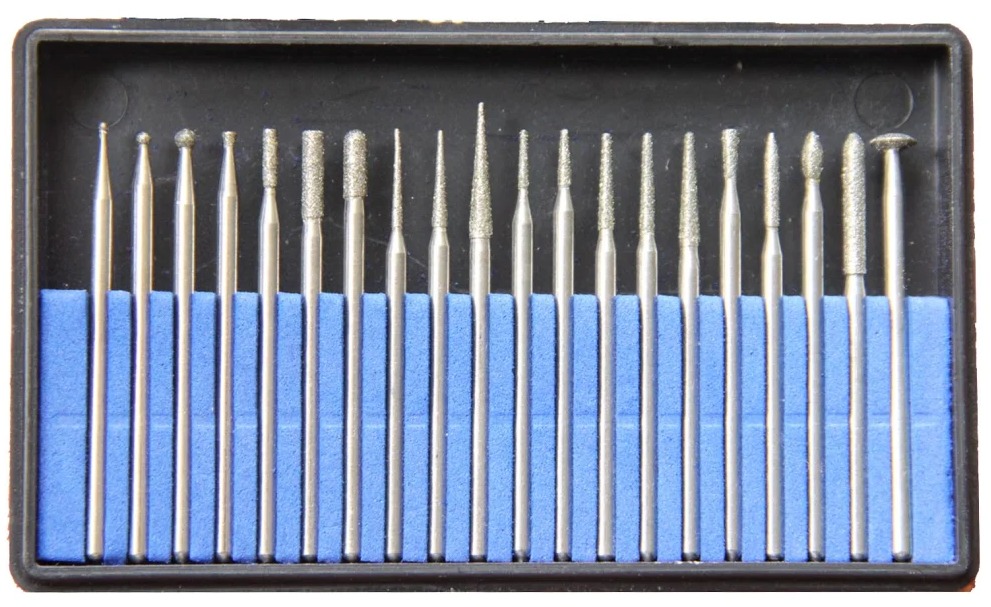
- Diamond burs -- the primary cutting instruments (more on selection below)
- Paper, scissors, and tape -- for creating and transferring design templates
- Glass item -- cups, vases, flat panels, or any smooth glass surface
- Soft cloth and bowl of water -- for wiping away glass dust during work
Choosing the Right Diamond Burs for Glass
The bur you select has the biggest impact on the quality of your finished engraving. Here is what to consider when choosing your tools.
Bur Shape and Its Effect on Line Quality
Different bur shapes produce different line characteristics on glass:
| Bur Shape | Best Use | Line Character |
|---|---|---|
| Ball (round) | Shading, stippling, filling large areas | Soft, diffused marks |
| Flame | Fine detail lines, lettering | Thin, precise strokes |
| Cylinder | Straight lines, borders, geometric patterns | Even-width lines |
| Tapered point | Very fine detail, crosshatching | Ultra-thin, sharp marks |
| Inverted cone | Undercutting, creating depth | Wider groove with flat bottom |
For a deeper look at how bur geometry affects your work, read our guide on bur shapes for jewelry and engraving.
Grit Size Matters
Coarser diamond burs (lower grit numbers) remove material faster but leave rougher marks. Fine-grit burs produce smoother, more polished lines but cut slowly. For most glass engraving projects, a medium grit works best for initial cutting, followed by a fine grit for finishing and detail work.
Recommended Bur Kit
If you are new to glass engraving, a multi-shape kit saves time and money compared to buying individual burs. The ZD102 Small and Tiny Cut HP Diamond Burs Kit includes ball, flame, cylinder, and tapered point shapes in one set -- everything needed for most glass projects.
Step-by-Step Glass Engraving Process
Step 1: Put on Safety Equipment
Glass dust is hazardous. Before powering on your rotary tool, put on your dust mask and eye protector. Wear long sleeves and remove any loose clothing, scarves, dangling jewelry, or anything that could catch on a spinning bur. Tie back long hair securely.

Step 2: Prepare Your Design
You have two options for applying your design to the glass:
- Freehand engraving: Draw directly onto the glass surface using the bur. This works best for organic, flowing designs where exact symmetry is not required.
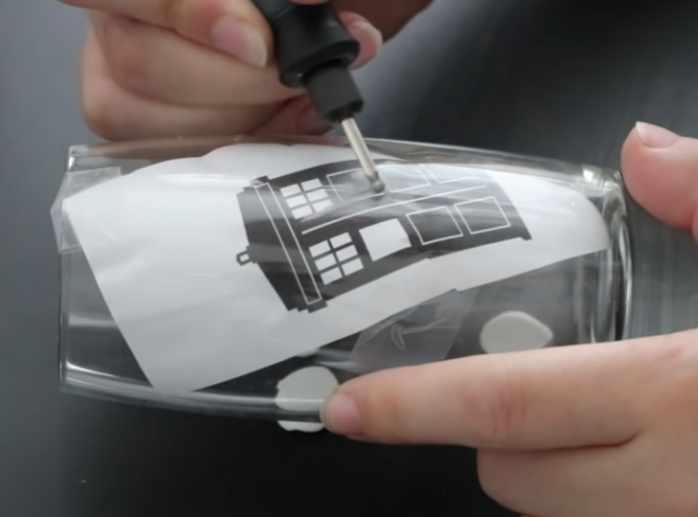
- Template transfer: Print your design on paper, cut it out with scissors, and tape it to the inside of the glass. The paper acts as a visible guide that you trace from the outside with your bur. This method is ideal for lettering, logos, and detailed patterns.
Step 3: Engrave the Glass
With your safety gear on and design in place, begin engraving:
- Set your speed. Start at a low to medium RPM. Higher speeds remove material faster but give less control and generate more heat.
- Hold the tool like a pen. A relaxed grip gives better control than a tight one. Rest your hand on the glass surface for stability.
- Use light, consistent pressure. Let the diamond bur do the cutting. Pressing too hard can cause the glass to crack or the bur to skip.
- Engrave in one direction. Because of the rotation direction of the bur, cutting in one direction will produce cleaner lines than going back and forth. Test on a scrap piece to find which direction works best with your tool.
- Build up depth gradually. Make multiple light passes rather than trying to cut deep in a single stroke.
Step 4: Wipe Away Dust Regularly
Glass engraving produces a fine white dust that accumulates on the surface and obscures your work. Keep a damp cloth and a bowl of water nearby, and wipe the glass frequently. The design may seem to disappear when the surface is wet, but it will reappear clearly once the glass dries.
Step 5: Inspect and Refine
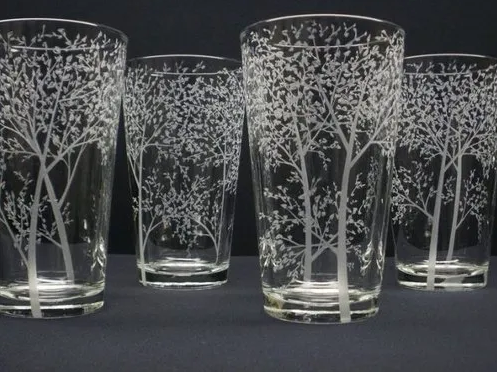
After completing your design, clean the glass thoroughly and inspect it under good lighting. Hold it at different angles to check for missed spots or uneven lines. Use a fine-grit diamond bur to touch up any areas that need more definition.
Important Tips for Better Results
These practical tips will help you avoid common mistakes and produce cleaner engravings:
- Always use water as a lubricant. Dip the bur tip in water frequently, or keep the glass surface slightly damp while working. Water serves three purposes: it produces smoother cuts, it extends the life of your diamond burs, and it prevents overheating that can crack the glass or damage the bur.
- Watch for overheating signs. If your diamond bur turns brown or the diamond grit starts falling off, you are generating too much heat. Reduce your speed, apply less pressure, and use more water.
- Practice on inexpensive glass first. Dollar-store glasses and jars make excellent practice pieces. Get comfortable with pressure and speed control before working on your final piece.
- Work in good lighting. Side lighting from a desk lamp positioned at an angle makes the engraved lines much easier to see while you work.
- Clean the work area afterward. Glass dust settles on surrounding surfaces and can be a skin and respiratory irritant. Wipe down your workspace with a damp cloth when finished.
Common Glass Engraving Mistakes and How to Fix Them
Even with good technique, beginners often run into a few recurring problems. Here is how to address the most common issues:
- Chipping at the edges of lines: This usually means you are pressing too hard or moving too fast. Slow down, lighten your touch, and make sure the glass surface is slightly damp. Thinner glass is more prone to chipping, so practice on thicker pieces first.
- Uneven line depth: Inconsistent pressure is the usual cause. Try bracing your hand against the glass or the table surface so your movements stay steady. Some engravers also find that using a lower speed setting gives them more control over depth.
- Bur skipping across the surface: This happens when the glass is too dry or the bur is worn. Add water and check that your diamond bur still has good grit coverage. A worn bur with bare metal patches will not grip the glass properly.
- Design looks faint after cleaning: The engraving is there but the marks are too shallow. Go over the design again with light, repeated passes to build up depth. Resist the urge to press harder on a single pass.
Project Ideas for Beginners
If you are not sure what to engrave first, here are some beginner-friendly projects that help you build skills progressively:
- Simple text on a flat glass panel: Practice lettering with a flame-shaped bur. Block letters are easier than script.
- Geometric border on a drinking glass: Straight lines and repeating patterns teach you consistency and spacing.
- Leaf or flower outline on a vase: Organic shapes let you practice curves and varying line widths.
- Detailed portrait or scene on a wine glass: This is an advanced project, but once you are comfortable with shading techniques using a ball bur, you can create surprisingly detailed images.
Maintaining Your Diamond Burs
Diamond burs will last much longer with proper care. After each engraving session, clean your burs with a brass wire brush to remove embedded glass particles. Store them in a dedicated holder or case where the cutting surfaces will not contact other tools. Avoid dropping diamond burs on hard surfaces, as this can dislodge the diamond coating. If you notice that a bur is no longer cutting as well as it used to, inspect the diamond surface under a magnifying glass. Bare metal patches or brown discoloration mean the bur has reached the end of its useful life and should be replaced.
Glass engraving is a rewarding craft that improves with practice. With the right diamond burs, proper technique, and attention to safety, you can produce professional-looking results on your very first project. Start simple, build your skills, and gradually take on more detailed designs as your confidence grows.