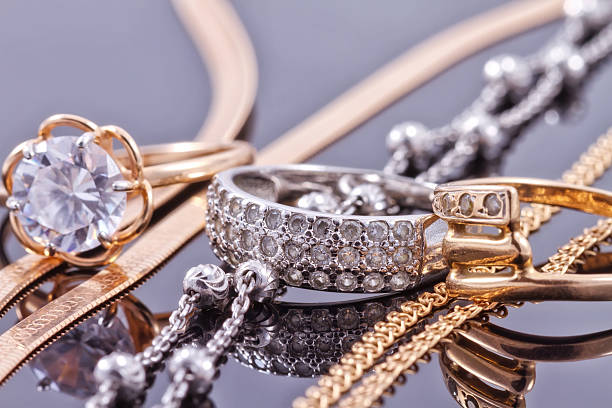
6 Best Jewelry Polishing Tools for a Mirror Finish
Choosing the right jewelry polishing tools can mean the difference between a dull, scratched piece and a brilliant mirror finish. With so many options on the market, it is easy to waste money on tools that never leave the drawer. This guide covers the six tools that working jewelers rely on every day, from rough shaping to final buffing.
Why Proper Jewelry Polishing Tools Matter
Polishing is not a single step. It is a sequence of progressively finer abrasives that remove scratches left by the previous stage. Skipping a grit level or using the wrong tool leaves visible marks that no amount of buffing can remove. The tools below follow the correct order: shape, smooth, pre-polish, and final polish.
If you are new to jewelry making and want to understand how different bur shapes affect your work, read our guide on bur shapes for jewelry making.
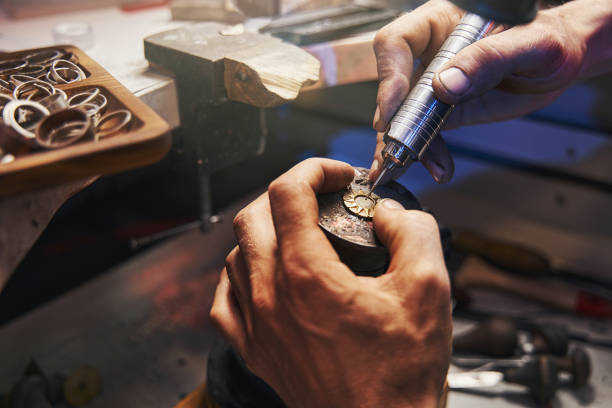
1. Pendant Drill (Flex Shaft)
A pendant drill, also called a flex shaft, is the foundation of any jewelry polishing station. This versatile rotary tool accepts a wide range of attachments and handles drilling, sanding, polishing, engraving, and texturing on metals, silver, gold, and even stone settings.
Key Features to Look For
- Variable speed control -- Low speeds (5,000-10,000 RPM) for polishing, higher speeds for cutting and grinding
- Comfortable handpiece -- A lightweight handpiece reduces hand fatigue during long sessions
- Quick-change chuck -- Allows fast swapping between different burs and attachments
- Foot pedal -- Frees both hands for better control of the workpiece
A good pendant drill serves as the motor for nearly every other tool on this list. Invest in a reliable unit with at least 1/6 horsepower for consistent performance. Look for models that include multiple collet sizes so you can accommodate shanks of different diameters without needing adapters. Many professional jewelers keep a second handpiece loaded with a different bur to avoid constant tool changes during a project.
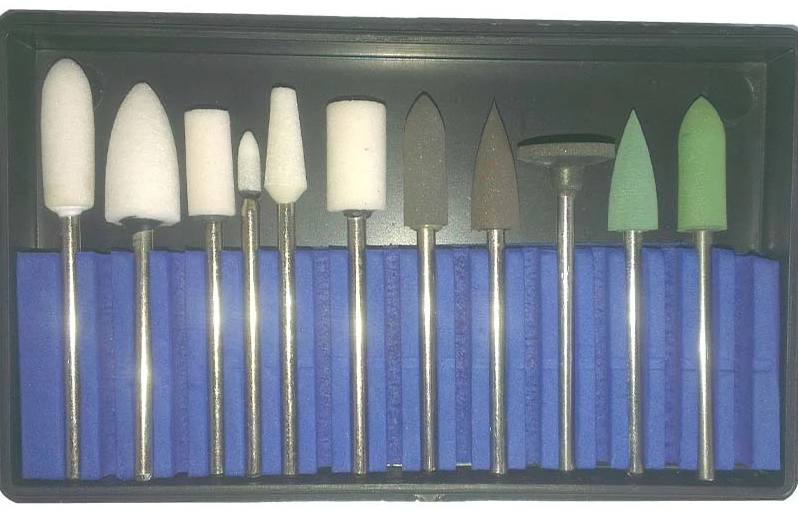
2. Rubber Burs
Rubber burs, also called silicone rubber polishers, are the workhorse of jewelry finishing. They come in different grits, and each grit serves a specific purpose in the polishing sequence.
How to Use Rubber Burs Effectively
| Grit Level | Color (Typical) | Purpose |
|---|---|---|
| Coarse | Brown / Black | Remove tool marks and heavy scratches |
| Medium | Blue / Gray | Soften sharp edges and blend surfaces |
| Fine | Pink / Light Gray | Smooth surface before final polishing |
| Extra-Fine | White / Green | Pre-polish to near-mirror finish |
Always work through each grit in order. Jumping from coarse directly to extra-fine leaves micro-scratches that become visible under strong light. Mount each rubber bur in your pendant drill and apply light, even pressure. Run the drill at moderate speed, typically between 8,000 and 15,000 RPM, depending on the metal hardness. Softer metals like silver and gold respond well to lower speeds, while stainless steel and platinum require slightly higher speeds for effective material removal.
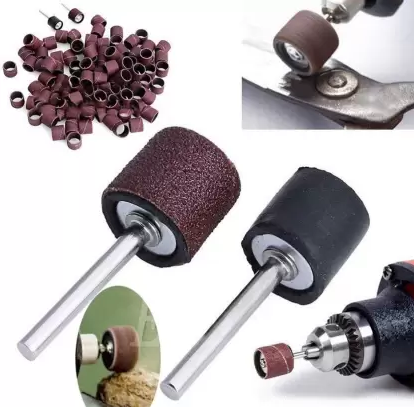
3. Sandpaper and Mandrels
Sandpaper is the first true sanding stage in jewelry polishing. It removes file marks and prepares the metal surface for rubber burs or direct polishing. When paired with the right mandrel, sandpaper becomes a precision tool for reaching tight corners and flat surfaces alike.
Sandpaper Grit Progression
- 220-320 grit -- Remove deep scratches and file marks
- 400-600 grit -- Refine the surface and eliminate 220-grit scratches
- 800-1000 grit -- Create a smooth, scratch-free surface ready for polishing
- 1200-2000 grit -- Optional ultra-fine sanding for high-polish finishes
Split mandrels have a slot that grips the sandpaper strip, while screw mandrels hold disc-shaped sandpaper. Choose the mandrel type based on the area you need to reach. Flat surfaces work well with disc mandrels, while curved areas benefit from split mandrels wrapped with sandpaper strips.
4. Cloth and Leather Polishing Brushes
Polishing brushes are available in cloth and leather varieties, and each type plays a different role in the finishing process. Browse our full selection of polishing accessories to find the right brush for your application.
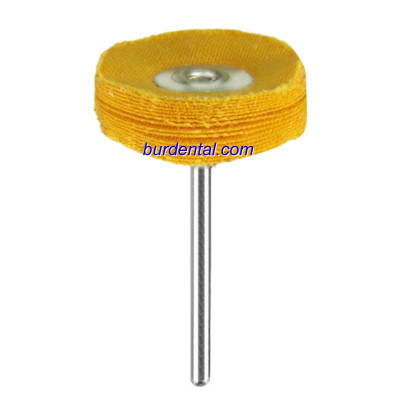
Cloth Polishing Brushes
Cloth brushes are made from layered muslin or cotton and are designed for applying polishing compounds. They work best for:
- Removing stubborn fire scale from soldered joints
- Polishing flat and gently curved surfaces
- Applying rouge or tripoli compound evenly
- Finishing metals, stainless steel, and even plastics
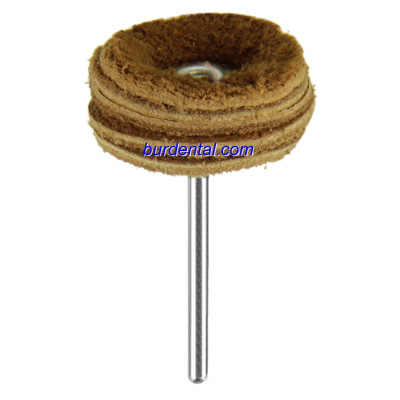
Leather Polishing Brushes
Leather brushes are firmer than cloth and are ideal for buffing out light scratches while maintaining shine. They work especially well on:
- Ring bands and other curved surfaces
- Final buffing after compound polishing
- Polishing metals, jade, and ceramic materials
Use cloth brushes with compound first, then follow up with leather brushes for the final buff. This two-step approach produces the best results.
5. Jewelers Rouge and Polishing Compounds
Jewelers rouge is a fine abrasive compound that produces the mirror-like luster on finished jewelry. It was originally developed by the jewelry trade for smoothing and polishing precious metals, but it also works on plastic, wood, and other soft materials.
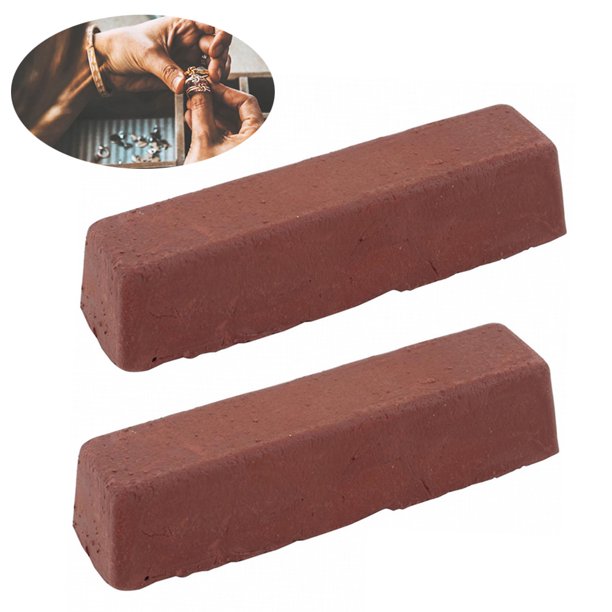
Types of Polishing Compounds
| Compound | Color | Best For |
|---|---|---|
| Tripoli | Brown | Initial cutting and removing scratches from gold and silver |
| White Diamond | White | General-purpose polishing on most metals |
| Red Rouge | Red | Final high-polish on gold and silver |
| Green Rouge | Green | Polishing stainless steel and platinum |
| Blue Rouge | Blue | All metals, produces a high shine |
Apply the compound to a cloth or leather polishing brush spinning at medium speed. Press the compound bar against the spinning brush for one to two seconds. Too much compound clogs the brush and reduces polishing effectiveness. Always use separate brushes for each type of compound. Mixing tripoli residue with rouge contaminates the finer compound and introduces scratches into what should be the final finishing stage. Label each brush clearly so they never get mixed up during a busy session.
6. Polishing Cloths
The polishing cloth is the final tool in the sequence. After all machine polishing is complete, a hand buff with a polishing cloth removes any remaining compound residue and adds a final layer of shine.
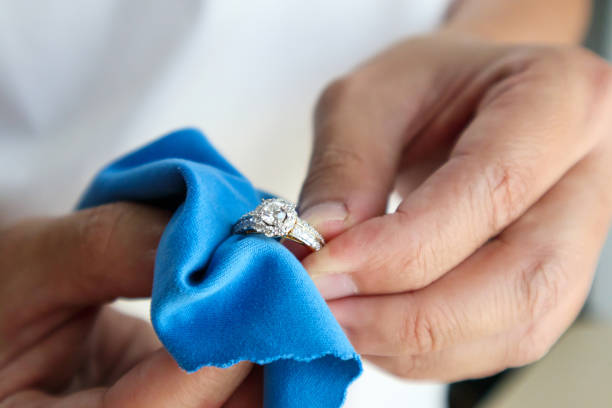
Two-Cloth Method
- Plain cotton cloth -- Wipe away excess rouge and compound from the surface
- Treated polishing cloth -- Give the piece a final buff to bring out maximum brilliance
Keep your polishing cloths clean and free of debris. A dirty cloth can reintroduce scratches to an otherwise perfect finish. Replace cloths regularly and store them in sealed bags to prevent contamination.
Recommended Polishing Sequence
For best results, follow this order every time you polish a piece of jewelry:
- Sand with progressively finer sandpaper on mandrels
- Work through rubber bur grits from coarse to extra-fine
- Apply tripoli compound with a cloth brush
- Switch to rouge compound with a clean cloth brush
- Buff with a leather brush
- Hand-finish with polishing cloths
Each step builds on the previous one. Skipping steps or reversing the order produces inferior results. For more detailed polishing techniques, check out our complete guide on how to polish jewelry.
Caring for Your Polishing Tools
Proper maintenance extends the life of your tools and prevents cross-contamination between polishing stages:
- Dedicate brushes to specific compounds -- Never use a tripoli brush for rouge, or you will contaminate the finer compound
- Clean rubber burs -- Metal particles embed in rubber burs over time. Clean them with a bur cleaning stone or replace them when worn
- Store mandrels properly -- Keep split mandrels straight to prevent bending the slot
- Replace sandpaper frequently -- Worn sandpaper creates uneven surfaces and requires more pressure, which can damage delicate settings
With these six tools and a consistent technique, any jeweler can produce a professional-grade mirror finish on rings, pendants, bracelets, and other pieces.
