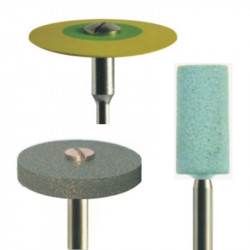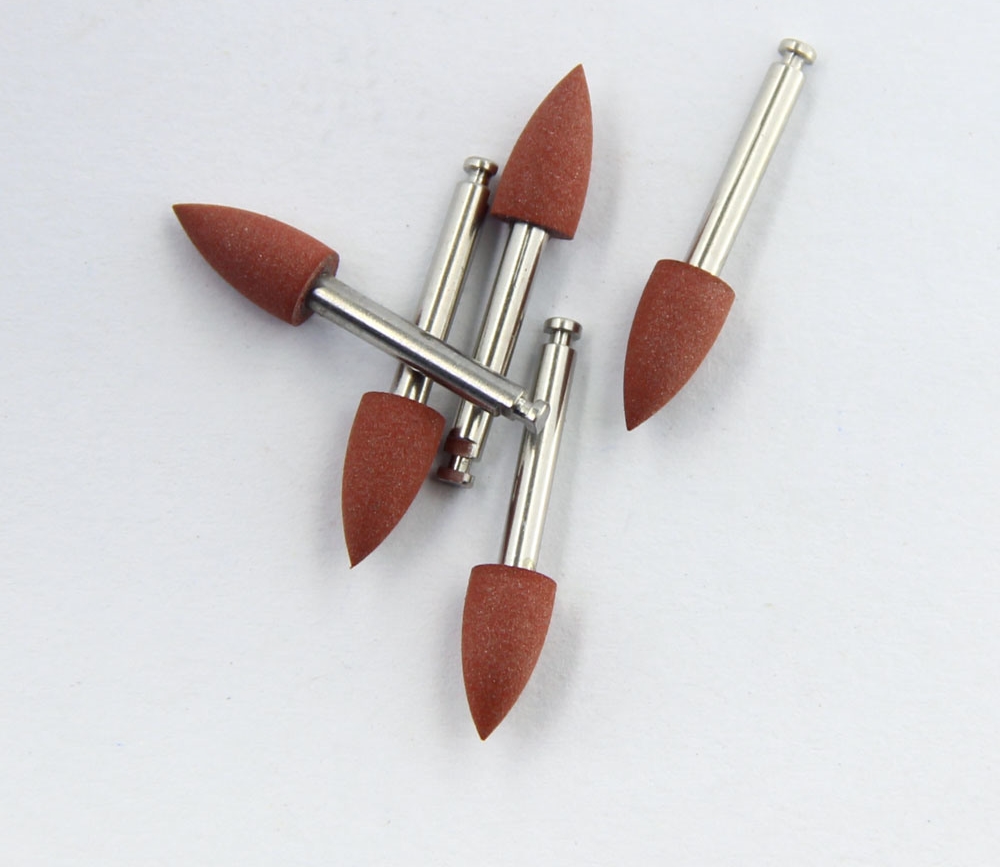
Beyond standard polishing brushes, silicone rubber polishers are among the most widely used finishing instruments in dentistry. Available in a range of colors, shapes, and grit levels, these tools serve different purposes depending on whether they are used chairside or in a dental laboratory. This guide walks through the major types, explains the color-coded grit system, and helps you pick the right polisher for your material and workflow.
What Are Silicone Rubber Polishers?
Silicone rubber polishers are rotary finishing instruments made from a blend of rubber, silicone, and abrasive particles such as aluminum oxide. They attach to a dental handpiece and are used to smooth, contour, and polish restorations after placement or adjustment. Unlike abrasive discs that wear down quickly, silicone polishers maintain a consistent cutting action throughout their service life and can often be re-sterilized for multiple uses.
The abrasive particles are embedded throughout the polisher body rather than coated on the surface. As the outer layer wears away, fresh abrasive is exposed, delivering steady performance from start to finish. This self-renewing design is what sets silicone polishers apart from surface-coated instruments like sandpaper discs or coated strips, which lose their effectiveness as soon as the outer abrasive layer is gone.
Silicone polishers are available in two main shank types: FG (friction grip) for chairside clinical use and HP (handpiece) for laboratory bench work. The shank determines which handpiece the polisher fits into, so selecting the correct type for your working environment is the first step.
Clinic Silicone Polishers (FG Shank)
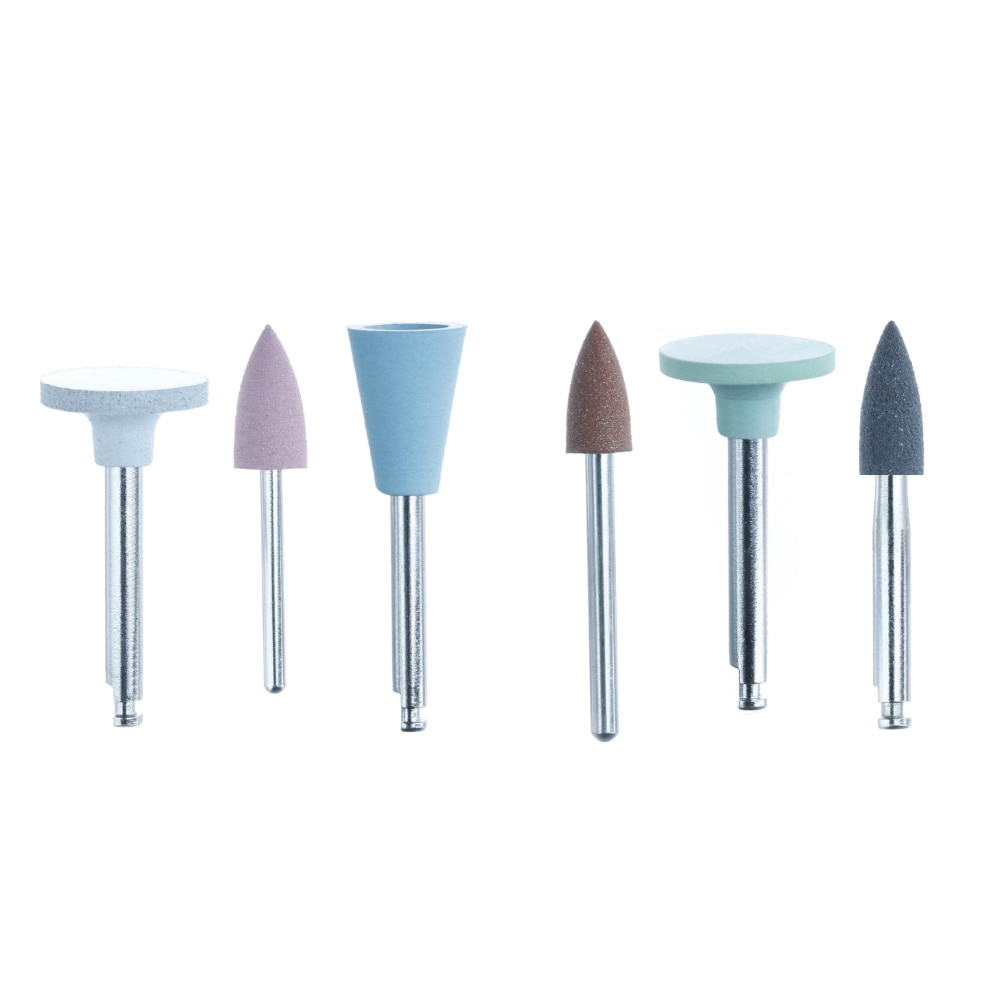
Chairside silicone polishers feature an FG (friction grip) shank and fit directly into high-speed handpieces. They are the go-to choice for intraoral finishing of porcelain crowns, ceramic inlays, and composite restorations. Most FG silicone polishers measure about 19 mm in total length and have compact heads that allow access to posterior teeth without difficulty.
How Clinic Polishers Are Used
After a restoration is seated and any high spots are removed with a diamond bur, the clinician switches to silicone polishers to refine the surface. The typical workflow follows a multi-step sequence, moving from coarse to fine grit:
- Remove gross irregularities and adjust contours with a coarse polisher.
- Smooth the surface and reduce visible scratches with a medium polisher.
- Bring the restoration to a high gloss with a fine polisher.
This three-step approach mirrors the coarse-to-fine progression used with virtually all abrasive systems in dentistry. Spending adequate time on each step is more effective than skipping ahead to the fine polisher, because each grit level is designed to remove only the scratch pattern left by the previous step.
Color-Coded Grit for Ceramic Polishing
The color of the polisher head tells you its grit level at a glance. For porcelain and ceramic work, the standard color system is as follows:
| Color | Grit Level | Purpose |
|---|---|---|
| White | Coarse | Initial contouring and adjustment of porcelain |
| Pink | Medium | Smoothing porcelain surfaces |
| Blue | Fine | Final high-gloss polishing of porcelain |
When polishing ceramic restorations, a recommended speed range is 8,000 to 12,000 RPM. Going much faster generates friction heat that can damage both the polisher and the ceramic surface. Light, sweeping strokes produce better results than holding the polisher against one spot.
Color-Coded Grit for Metal and Amalgam
A separate color system applies when polishing amalgam restorations or metal alloys. These polishers use a different abrasive formulation that is better suited to the hardness and surface characteristics of metals:
| Color | Grit Level | Purpose |
|---|---|---|
| Black | Coarse | Rough adjustment of amalgam and metal |
| Brown | Medium | Intermediate smoothing of metal surfaces |
| Light Green | Fine | Final polish of metal and amalgam |
Keeping the two color systems separate is important. Using a ceramic polisher on metal, or vice versa, will produce poor results and may damage the polisher prematurely. Many clinicians organize their polisher inventory by color group to prevent mix-ups during busy clinical sessions.
Laboratory Silicone Rubber Polishers (HP Shank)
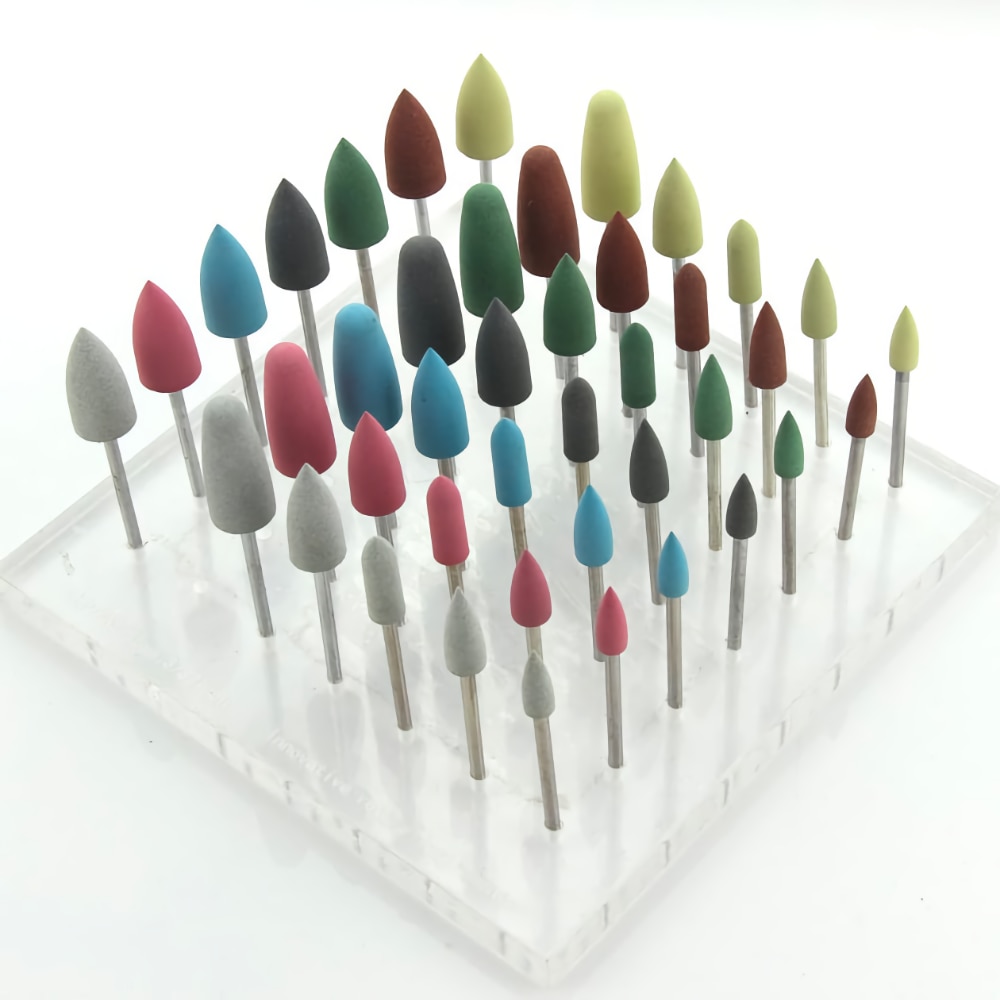
Lab polishers use an HP (handpiece) shank and are designed for bench-mounted straight handpieces or laboratory micro-motors. They are larger, more durable, and available in a wider variety of shapes including wheels, cylinders, points, and knife-edge profiles. The HP shank is 44.5 mm long, giving the technician a stable grip and better control during extended polishing sessions. Three main series cover the most common lab polishing tasks.
C Series: Porcelain and Ceramic Polishing
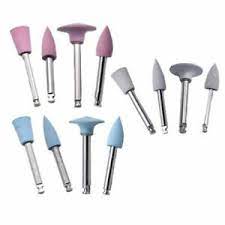
The C Series uses the same white-pink-blue color code as clinic ceramic polishers. Each step serves a specific role in the porcelain finishing process:
- White (Coarse) — Removes excess material and adjusts the shape of porcelain restorations. This is the first step after the technician has finished contouring with abrasive stones or diamond instruments.
- Pink (Medium) — Smooths the porcelain surface and eliminates tool marks left by the coarse step. At this stage, the surface should already be free of visible pits or grooves.
- Blue (Fine) — Produces a high-lustre finish that closely mimics the gloss of natural enamel. The fine polisher brings out the translucency of the ceramic material.
Because porcelain is relatively hard and brittle, light pressure and moderate speed are recommended. Excessive force can generate heat that leads to micro-cracks in the ceramic, compromising the strength of the final restoration.
A Series: Metal and Alloy Polishing
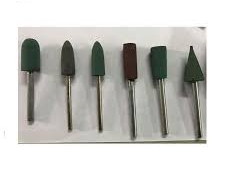
The A Series is formulated for harder materials, including cobalt-chromium frameworks, base metal alloys, and precious metal castings. It uses a different color system:
- Black (Coarse) — Adjusts cobalt-chromium, hard alloys, and base metals. The coarse abrasive removes sprues, nodules, and casting flash quickly.
- Brown (Medium) — Removes tool marks from metal and semi-precious metal surfaces, blending the surface to an even matte finish.
- Green (Fine) — Quickly smooths scratches and delivers a polished metal finish suitable for final delivery or further treatment with polishing paste.
The abrasive in the A Series is harder than in the C Series, allowing it to cut efficiently into tough alloys without glazing over. Technicians working with cobalt-chromium partial denture frameworks rely heavily on this series for daily production work.
R Series: Acrylic and Resin Polishing
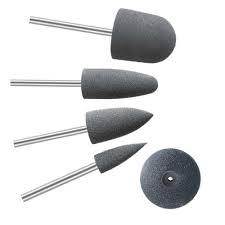
The R Series features a reinforced shank and is made specifically for thermoplastics, acrylics, and resin-based materials such as denture bases and orthodontic retainers:
- Green (Coarse) — Reduces and finishes acrylic and resin surfaces. Use this step to remove excess flashing from denture borders and adjust the overall contour.
- Grey (Medium) — Smooths acrylic and blends contours, removing the scratch pattern from the coarse step.
- Yellow (Fine) — Delivers a final high-gloss polish on acrylic and resin, leaving a surface that feels smooth to the tongue and resists plaque accumulation.
Acrylic softens quickly under heat, so keeping speed below 10,000 RPM and using intermittent contact helps prevent surface damage. If the acrylic starts to feel sticky or smear, reduce speed and let the material cool before continuing.
Choosing the Right Polisher: Quick Reference
| Material | Setting | Series | Shank |
|---|---|---|---|
| Porcelain / Ceramic | Clinic | Ceramic (White-Pink-Blue) | FG |
| Amalgam / Metal | Clinic | Metal (Black-Brown-Green) | FG |
| Porcelain / Ceramic | Lab | C Series | HP |
| Metal / Alloy | Lab | A Series | HP |
| Acrylic / Resin | Lab | R Series | HP |
Tips for Getting the Best Results
- Follow the grit sequence. Skipping the medium step often leaves visible scratches that the fine polisher cannot remove.
- Use light, intermittent pressure. Let the abrasive do the work. Heavy pressure generates heat and shortens the polisher's life.
- Match the polisher to the material. A metal polisher on ceramic, or a ceramic polisher on acrylic, will give poor results.
- Inspect under magnification. Surface defects that are invisible to the naked eye become obvious under 3x to 5x loupe magnification.
- Replace worn polishers. Once the shape is visibly deformed or the abrasive no longer cuts, switch to a fresh unit.
- Store polishers properly. Keep them in a clean, dry container away from contaminants. Do not stack them loosely in a drawer where they can pick up debris.
How Polishers Fit Into the Broader Finishing Workflow
Silicone rubber polishers are one stage in a multi-step finishing process. A typical sequence for a ceramic crown might look like this:
- Adjust occlusion and contours with a fine-grit diamond bur.
- Smooth with a silicone polisher (coarse, then medium, then fine).
- Apply a diamond-impregnated rubber polisher for ultra-high gloss if needed.
- Finish with a polishing paste on a soft brush or felt wheel for maximum shine.
Each step builds on the previous one. Rushing through the sequence or skipping steps almost always shows up as a dull or uneven surface on the final restoration. Taking an extra two to three minutes on polishing can make the difference between a restoration that blends in naturally and one that stands out under direct light.
Frequently Asked Questions
Can silicone polishers be autoclaved?
Most silicone rubber polishers are autoclavable at 134 degrees Celsius. Check the manufacturer's instructions, as some economy-grade polishers may degrade after repeated sterilization cycles. Premium-grade polishers are designed to withstand dozens of autoclave cycles without significant loss of abrasive performance.
How many uses can I expect from one polisher?
A quality silicone polisher typically lasts 8 to 15 uses, depending on the material being polished and the pressure applied. Metal alloys wear polishers faster than ceramics or acrylics. You should retire a polisher once its shape is noticeably distorted or its surface appears glazed and smooth rather than textured.
Do I need water spray when using silicone polishers?
For chairside FG polishers, dry use is common because water can interfere with visibility. In the lab, a light mist of water helps control dust and heat buildup, especially on acrylic materials. Some manufacturers produce polishers specifically labeled for wet or dry use, so consult the product documentation when in doubt.
What is the difference between a silicone polisher and a diamond rubber polisher?
Silicone polishers use aluminum oxide or silicon carbide as the abrasive, while diamond rubber polishers contain embedded diamond particles. Diamond rubber polishers typically produce a higher final gloss but cost more per unit. Many practitioners use silicone polishers for everyday finishing and reserve diamond rubber polishers for anterior restorations where maximum esthetics are required.