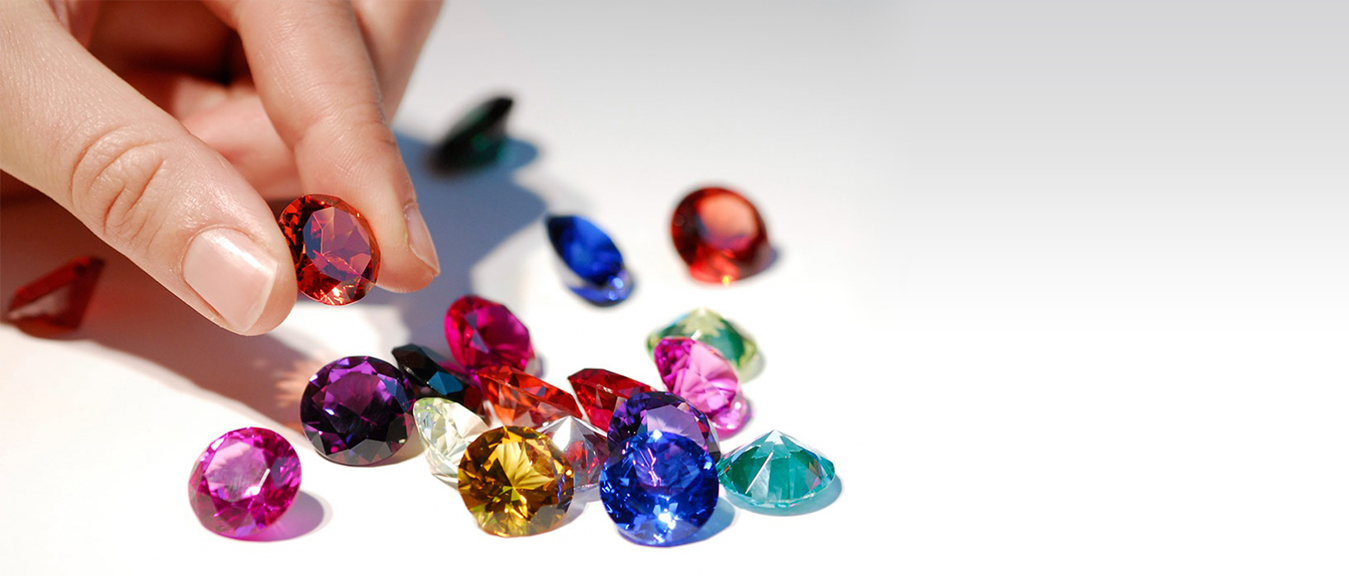
Gemstone Polishing with Rotary Tools: High-Gloss Guide
Achieving a flawless, high-gloss finish on gemstones requires the right combination of rotary tools, abrasive accessories, and technique. Whether you work with quartz, agate, jasper, or other semi-precious stones, a rotary tool gives you the speed and control needed to move from rough stone to mirror-like polish in a single session.
This guide walks you through every stage of the gemstone polishing process, from selecting the right accessories to applying the final buffing pass.
Essential Tools for Gemstone Polishing
Before starting any polishing project, gather the tools and supplies listed below. Having everything within reach prevents interruptions that can lead to uneven results.
Rotary Tool
A variable-speed rotary tool is the foundation of this workflow. Variable speed matters because different stages of polishing call for different RPM ranges. Low speeds (5,000-10,000 RPM) work best for initial grinding, while higher speeds (15,000-25,000 RPM) suit fine polishing.
Diamond Bits and Burs
Diamond bits are the primary cutting and shaping accessories for gemstone work. Coated with industrial diamond particles, they cut through even the hardest stones, including corundum and topaz. You will need a set that includes coarse (100-150 grit), medium (200-300 grit), and fine (400-600 grit) options. Quality diamond burs hold their abrasive coating longer and deliver more consistent results than bargain alternatives.
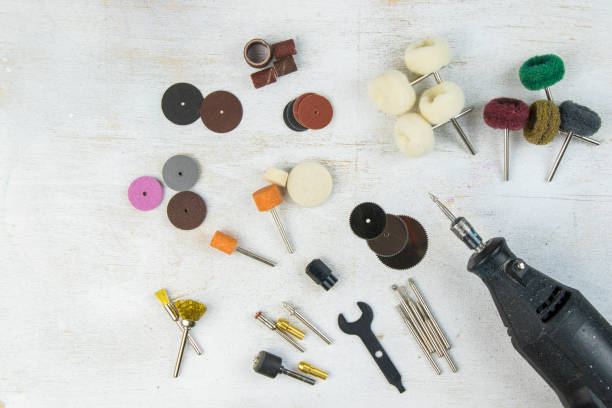
Polishing Compounds and Pads
After grinding, you transition to polishing compounds. Cerium oxide works well on quartz-family stones, while aluminum oxide suits softer materials. Felt wheels and rubber polishing points serve as carriers for these compounds. Diamond rubber polishers are another effective option that combine abrasive and carrier in a single accessory.
Water Supply
Water serves two purposes during polishing: it lubricates the contact point between tool and stone, reducing heat buildup, and it flushes away swarf (ground material) that would otherwise clog your abrasives.
Step-by-Step Gemstone Polishing Process
Follow these six stages in order. Skipping a stage or rushing through it almost always produces visible scratches in the final finish.
Step 1: Clean the Gemstone
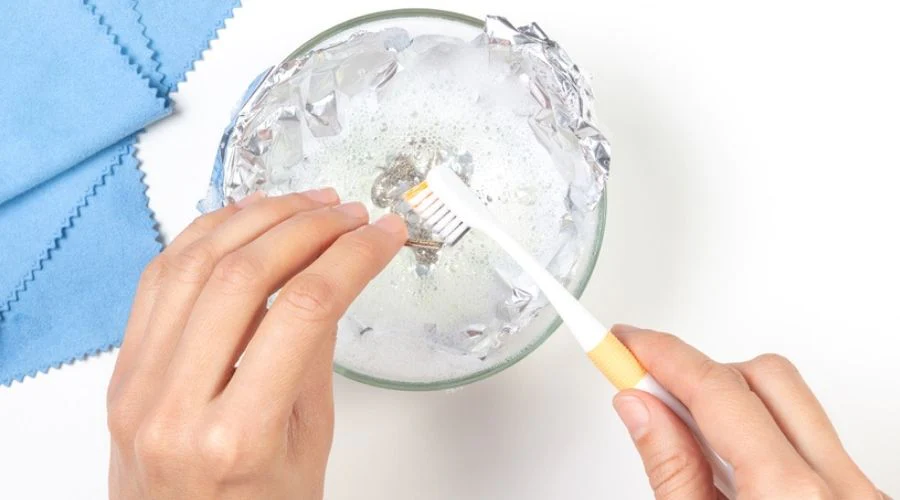
Wash the stone in warm soapy water using a soft brush to remove dirt, oils, and loose particles. Rinse with clean water and dry with a lint-free cloth. Any debris left on the surface can cause deep scratches during the grinding stage.
Step 2: Shape the Stone with Coarse Diamond Bits
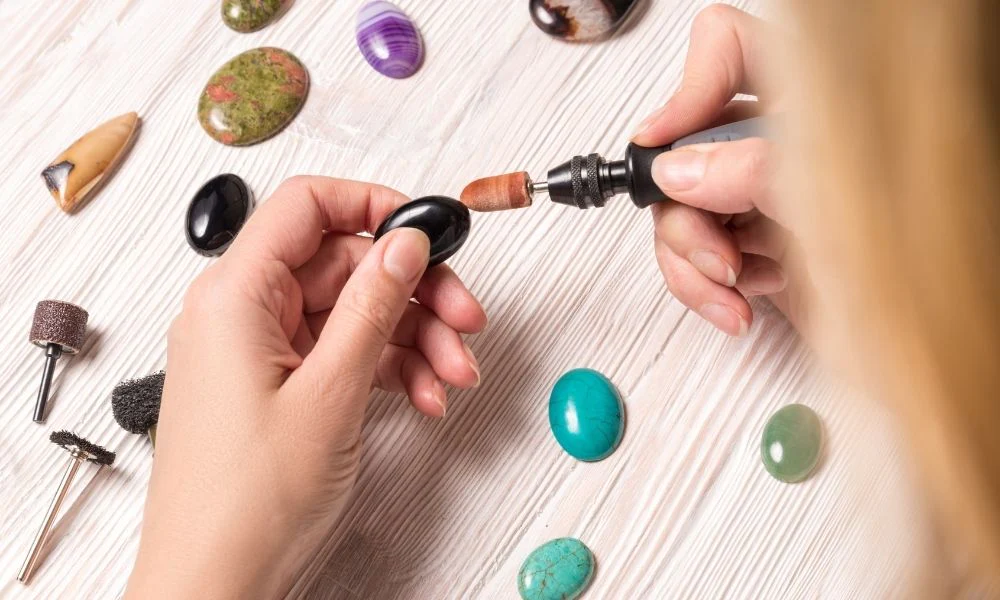
Mount a coarse diamond bit in your rotary tool and set the speed to 8,000-10,000 RPM. Hold the stone firmly against a stable surface. A small bench vise with rubber jaw pads works well, as does a dop stick secured with wax for cabochon work. Move the stone against the bit with light, even pressure, keeping water flowing over the contact point at all times. Rotate the stone frequently to maintain symmetry across all faces. Work in short intervals of 15 to 20 seconds, then pause to check your progress and cool the stone. Switch to a medium-grit bit once you have the desired outline shape established.
Step 3: Refine the Surface with Fine Grinding
Using a fine-grit diamond bit or grinding wheel, smooth the facets or curved surfaces left by the shaping stage. Increase speed slightly to 10,000-12,000 RPM for this step. Work methodically across the entire stone, applying consistent pressure and overlapping your passes so no area is missed. The goal at this stage is to remove every visible scratch left by the coarse bit. Hold the stone under a bright light between passes and check from multiple angles. Any scratch you can see now will still be visible after polishing, so do not move on until the surface looks uniformly smooth under magnification.

Step 4: Apply Polishing Compound
Apply a thin layer of polishing compound to a felt wheel or soft cloth wheel mounted on your rotary tool. Increase speed to 15,000-20,000 RPM. Press the stone gently against the wheel, moving it in slow, overlapping passes. The compound fills micro-scratches and begins to bring out the stone's natural luster.
Step 5: Final Buffing Pass
Switch to a clean felt wheel with a finer compound (or no compound at all for very hard stones). Run the tool at 20,000-25,000 RPM and buff the entire surface. This step removes any remaining haze and produces the mirror-like gloss that marks professional-quality work.
Step 6: Clean and Inspect
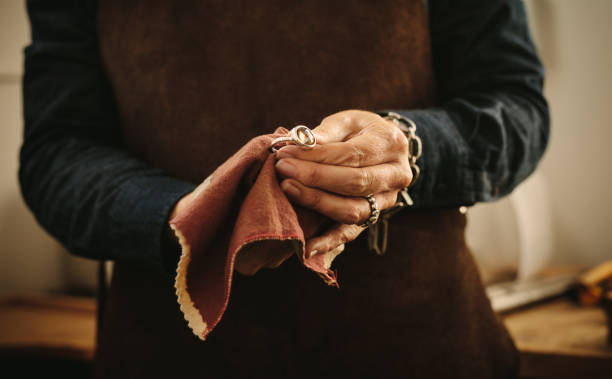
Rinse the finished stone under clean water to remove all compound residue. Dry it and inspect under strong light, rotating to check every angle. If you spot dull patches or fine scratches, return to Step 4 for that area only.
Grit Progression Reference Table
| Stage | Grit Range | Tool Accessory | RPM Range |
|---|---|---|---|
| Coarse shaping | 100-150 | Diamond bit | 8,000-10,000 |
| Medium grinding | 200-300 | Diamond bit | 10,000-12,000 |
| Fine grinding | 400-600 | Diamond bit / wheel | 12,000-15,000 |
| Initial polish | 1,000-1,500 | Felt wheel + compound | 15,000-20,000 |
| Final buff | 3,000+ | Clean felt wheel | 20,000-25,000 |
Tips for a Professional High-Gloss Finish
- Keep pressure light and consistent. Heavy pressure generates heat, which can fracture some stones and melt polishing compounds into a gummy residue.
- Never skip grits. Jumping from 150 to 600 grit leaves deep scratches that polishing compound cannot remove. Work through each stage.
- Match compound to stone hardness. Cerium oxide suits quartz (Mohs 7), aluminum oxide works for feldspar (Mohs 6), and diamond paste handles sapphire and ruby (Mohs 9).
- Use water throughout. Dry polishing creates dust, generates excess heat, and shortens the life of your abrasive accessories.
- Inspect between stages. Strong side-lighting reveals scratches that overhead light hides. Fix problems before moving to the next grit.
- Clean accessories regularly. A clogged felt wheel redistributes old compound unevenly. For tips on keeping your diamond accessories in top shape, see our guide on cleaning diamond burs.
Common Mistakes and How to Avoid Them
Overheating the Stone
Excessive speed or pressure builds heat fast. Some stones, especially opal and turquoise, are sensitive to thermal shock and can crack. Always use water cooling and take breaks during extended sessions.
Using Worn-Out Accessories
Diamond bits lose their coating over time. A worn bit requires more pressure, which increases heat and scratch risk. Replace bits when you notice they cut noticeably slower. For more on tool longevity, read our article on jewelry polishing with diamond burs and rubber polishers.
Inconsistent Motion
Holding the stone in one spot creates flat spots on curved surfaces or uneven facets. Keep the stone moving at all times, using smooth, overlapping passes.
Choosing the Right Polishing Accessories
The accessory you mount on your rotary tool matters as much as technique. Here is a quick guide:
- Felt wheels: Best for applying loose polishing compounds. Soft and conformable.
- Rubber polishing points: Pre-loaded with abrasive. Available in coarse, medium, and fine grades. Ideal for reaching concave areas.
- Leather wheels: Excellent for the final buffing stage on harder stones.
- Cork wheels: Work well with cerium oxide on quartz-family stones.
Safety Considerations
Gemstone polishing creates fine dust particles that are harmful if inhaled. Always work in a well-ventilated area or use a dust extraction system. Wear safety glasses to protect your eyes from flying chips during the grinding stages. When using water cooling, keep electrical connections dry and use a ground-fault circuit interrupter (GFCI) outlet. Secure loose clothing and tie back long hair before operating any rotary tool.
Summary
Gemstone polishing with rotary tools follows a clear progression: clean, shape, grind, polish, buff, and inspect. The key to a true high-gloss finish is patience at each grit stage and proper use of water cooling throughout. Invest in quality diamond bits and matched polishing compounds, follow the grit progression table above, and you will consistently produce stones with the deep, reflective luster that marks professional-grade work.
