White Stones vs Green Stones in Dentistry: A Guide
Mounted stones are among the most relied-upon rotary instruments in clinical dentistry. Clinic white stones and green stones each serve distinct roles in shaping, contouring, and polishing dental restorations. Selecting the right stone for each procedure directly affects surface quality, patient comfort, and long-term restoration success. Despite their widespread use, many practitioners underestimate the differences between these two instrument categories and miss opportunities to optimize their finishing workflows.
This comprehensive guide breaks down the composition, clinical applications, benefits, and safety considerations for both white and green mounted stones so you can make informed choices in everyday restorative practice.
What Are Clinic White Stones?
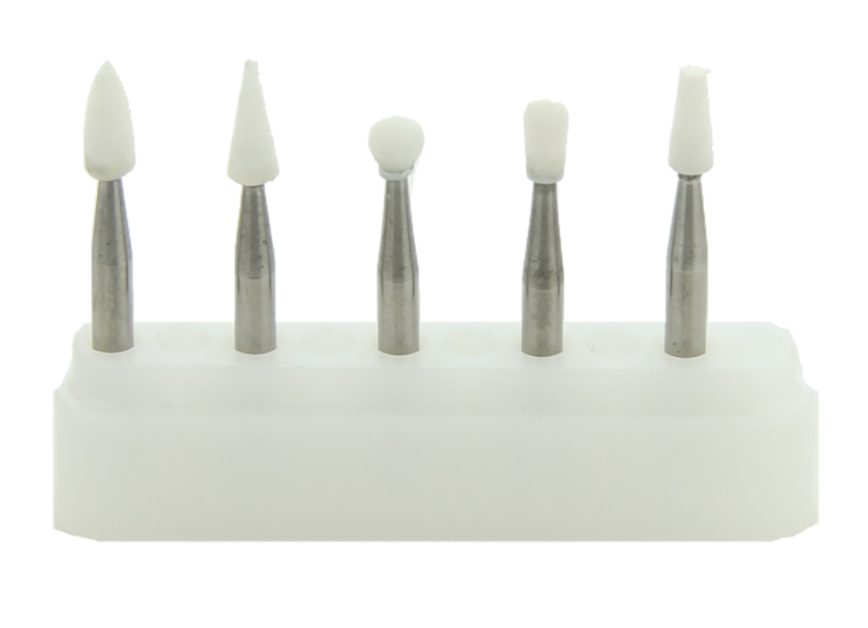
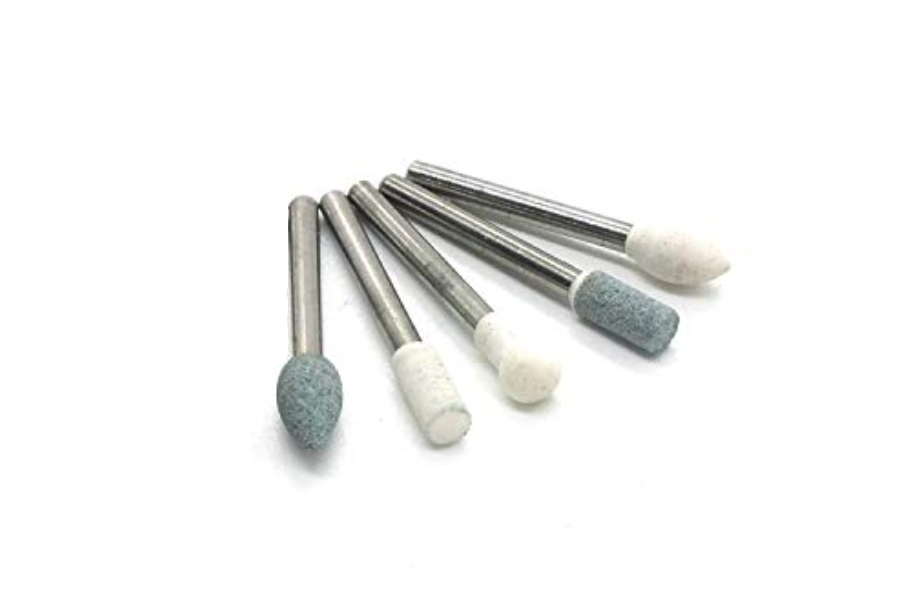
Clinic white stones are abrasive rotary instruments typically manufactured from aluminum oxide (alumina) or silicon carbide. They are available in flame, bullet, wheel, and inverted-cone shapes. Because of their moderately coarse grit, white stones excel at rapid material removal and initial contouring of composite resins, porcelain, and metal alloys. The aluminum oxide variant offers a slightly softer cutting action compared to silicon carbide, making it better suited for delicate adjustments on porcelain surfaces where aggressive removal could cause micro-fractures.
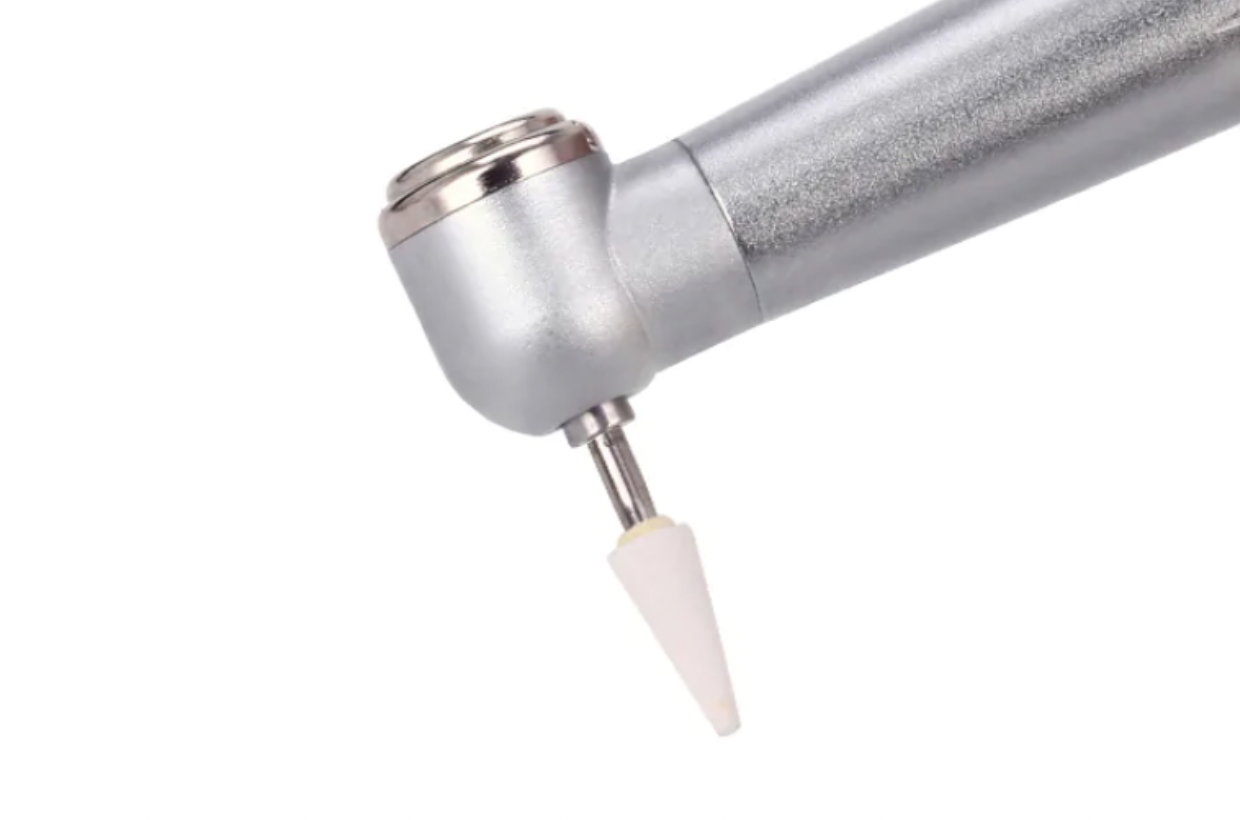
White stones are designed to be used with both high-speed and slow-speed handpieces, depending on the specific shape and the clinical task. Flame-shaped white stones are particularly popular for accessing interproximal areas and refining anatomical grooves on posterior composite restorations. Wheel-shaped variants handle broad, flat surfaces such as the facial aspect of anterior restorations efficiently.
What Are Green Stones?
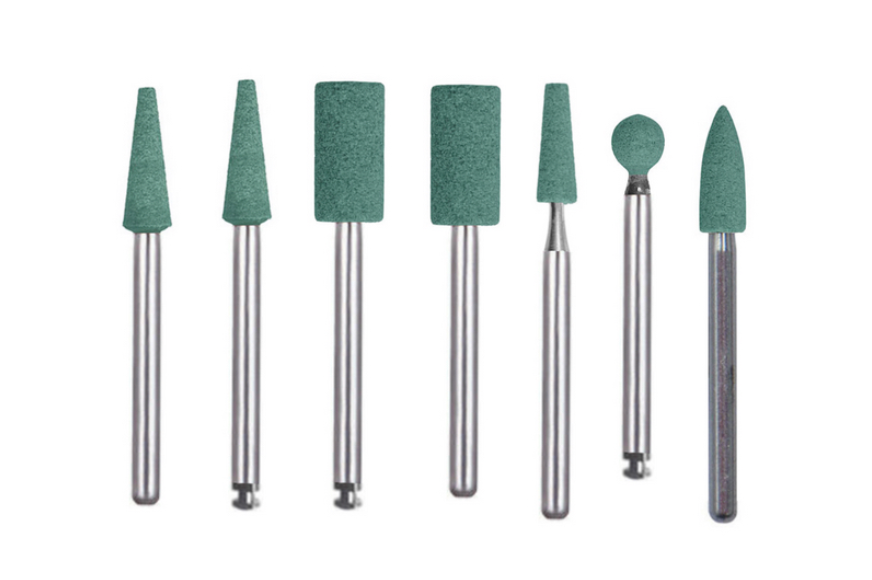
Green stones use a finer-grained silicon carbide abrasive bonded in a vitrified matrix. Their smoother cutting action makes them the preferred choice for finishing and pre-polishing composite and porcelain surfaces after the gross adjustment stage. The vitrified bond breaks down gradually during use, continuously exposing fresh abrasive particles and maintaining a consistent cutting rate throughout the instrument's service life.
Clinicians often follow green-stone finishing with rubber polishers or polishing paste to achieve a high-gloss result. Green stones are also valued for their ability to produce a uniform surface texture that facilitates the subsequent polishing steps. Without adequate finishing by a green stone, rubber polishers must work harder and longer to eliminate deeper scratches left by coarser instruments.
Comparing White Stones and Green Stones
Understanding the key differences between these two instrument types helps clinicians build an efficient, sequential finishing protocol. The following table summarizes the most important distinguishing characteristics.
| Feature | Clinic White Stone | Green Stone |
|---|---|---|
| Primary abrasive | Aluminum oxide or silicon carbide | Fine silicon carbide |
| Grit level | Medium to coarse | Fine to medium |
| Main use | Shaping, contouring, gross adjustment | Finishing, pre-polishing |
| Typical materials treated | Composite, porcelain, metal alloy | Composite, porcelain |
| Surface result | Smooth contour, ready for finishing | Near-polish surface, minimal scratching |
| Recommended RPM range | 20,000 to 35,000 | 15,000 to 25,000 |
| Available shapes | Flame, bullet, wheel, inverted cone | Flame, egg, cylinder, wheel |
The table makes one principle clear: white stones handle the initial heavy work, and green stones refine the result. Skipping the green-stone step often leads to visible scratches that no amount of rubber polishing can fully eliminate.
Clinical Applications of White Stones
White stones are workhorses during the adjustment phase of restorative procedures. Their common applications include the following scenarios that dental practitioners encounter daily.
- Contouring direct composite restorations – Adjusting anatomy and removing flash material after light curing. White stones remove bulk efficiently without the chatter that sometimes accompanies carbide finishing burs.
- Trimming provisional crowns – Quickly reshaping acrylic or bis-acryl temporaries chairside to achieve proper occlusion and marginal adaptation before the permanent restoration is ready.
- Gross adjustment of porcelain – Reducing high spots on ceramic crowns and inlays after cementation. Using a white stone with water spray minimizes the risk of thermal shock to the ceramic.
- Removing surface stains and calculus – Limited prophylactic use on enamel surfaces when ultrasonic scaling is not practical or when fine deposits remain after scaling.
- Preparing and refining cavity margins – Creating clean, well-defined margins before placement of restorative material to improve the seal between tooth and restoration.
Clinical Applications of Green Stones
Green stones typically follow the white-stone step in a sequential finishing protocol. Their finer grit and gentler cutting action make them suitable for the detail work that determines the final surface quality of a restoration.
- Smoothing composite surfaces – Eliminating fine scratches left by coarser instruments and creating a surface texture ready for rubber polishing.
- Pre-polishing porcelain restorations – Creating a uniform surface texture before final silicone rubber polisher use to achieve the desired gloss.
- Refining occlusal anatomy – Gently defining grooves and cuspal inclines without over-reducing the restoration height or disrupting occlusal contacts.
- Adjusting ceramic veneers – Conservatively modifying incisal edges and embrasure areas to achieve natural-looking emergence profiles and proper phonetic clearance.
- Finishing metal framework margins – Smoothing the metal-porcelain junction on porcelain-fused-to-metal restorations to prevent plaque retention and gingival irritation.
After green-stone finishing, many clinicians move to rubber polishers or diamond-impregnated polishing points to achieve the final high-gloss surface. This multi-step approach produces the smoothest surface and the best long-term stain resistance for composite and ceramic restorations alike.
Benefits of Using Mounted Stones in Practice
Versatility Across Procedures
A single set of white and green stones covers shaping, contouring, finishing, stain removal, and margin refinement. This reduces inventory costs and simplifies operatory setup, allowing the dental team to move through procedures more efficiently without searching for specialized instruments.
Conservative Tooth Preparation
Mounted stones allow controlled material removal with less vibration than some tungsten carbide burs. This helps preserve healthy tooth structure, especially when adjusting existing restorations or performing minor enameloplasty procedures. The gradual abrasive action gives the clinician precise tactile feedback during material removal.
Improved Patient Comfort
Because stones operate at moderate speeds and generate less noise than diamond burs during adjustment procedures, many patients report reduced anxiety during the finishing and polishing steps. The smoother vibration profile also contributes to a more comfortable experience compared to instruments with aggressive cutting geometries.
Predictable Surface Quality
Following a structured sequence of white stone, green stone, rubber polisher, and polishing paste produces consistently smooth surfaces that resist plaque accumulation and staining over time. This predictability reduces the need for repeat polishing appointments and improves overall patient satisfaction with the aesthetic result of their restorations.
Safety Considerations and Best Practices
While mounted stones are generally safe when used correctly, improper technique can lead to complications that affect both the restoration and the patient. Keep these important precautions in mind during every procedure.
- Use light, intermittent pressure. Excessive force generates heat that can damage pulp tissue and cause micro-cracks in ceramic restorations that may propagate over time under occlusal loading.
- Maintain adequate water spray. Continuous irrigation dissipates frictional heat and flushes abrasive debris from the treatment site, preventing thermal injury to the pulp and reducing airborne particle exposure.
- Inspect stones before use. Chips or cracks in the abrasive body can cause unpredictable cutting behavior and potential soft-tissue laceration. Discard any stone that shows visible structural damage.
- Sterilize between patients. Autoclave-compatible stones should be sterilized according to manufacturer instructions. Our article on dental bur sterilization provides a detailed step-by-step protocol for proper instrument reprocessing.
- Wear appropriate protective equipment. Safety glasses, face masks, and high-volume evacuation protect both clinician and patient from the fine airborne particles generated during stone use.
- Discard worn stones promptly. A stone that has lost its original shape or abrasive grit produces uneven surfaces and requires more pressure to achieve results, increasing the risk of thermal injury and compromising restoration quality.

Choosing the Right Stone for Each Situation
Selecting between a white stone and a green stone ultimately depends on three primary clinical factors that should guide your instrument choice in every situation.
- Stage of the procedure – Use white stones for initial contouring and gross material removal, then transition to green stones for finishing and surface refinement before polishing.
- Restoration material – Harder ceramics typically benefit from the coarser cut of a white stone first, while softer hybrid composites can sometimes skip directly to a green stone if only minor adjustments are needed.
- Patient tolerance – Patients with heightened sensitivity or dental anxiety may prefer the quieter, gentler action of green stones wherever clinically appropriate, reducing the overall stress of the appointment.
Pairing the correct stone with the correct handpiece speed and irrigation level ensures predictable outcomes and minimizes chair time. For guidance on matching rotary instruments to the appropriate handpiece types and shank configurations, read our overview of dental bur shank types.
Key Takeaways
Clinic white stones and green stones remain indispensable instruments in the restorative workflow. White stones handle the heavy lifting of shaping and contouring, while green stones refine surfaces to a near-polish finish that prepares restorations for final polishing. Used together in a structured protocol and followed by appropriate rubber polishers, they deliver smooth, long-lasting restorations with minimal chair time. Proper technique, adequate irrigation, and strict sterilization practices ensure these instruments perform safely and effectively for every patient who sits in the dental chair.
