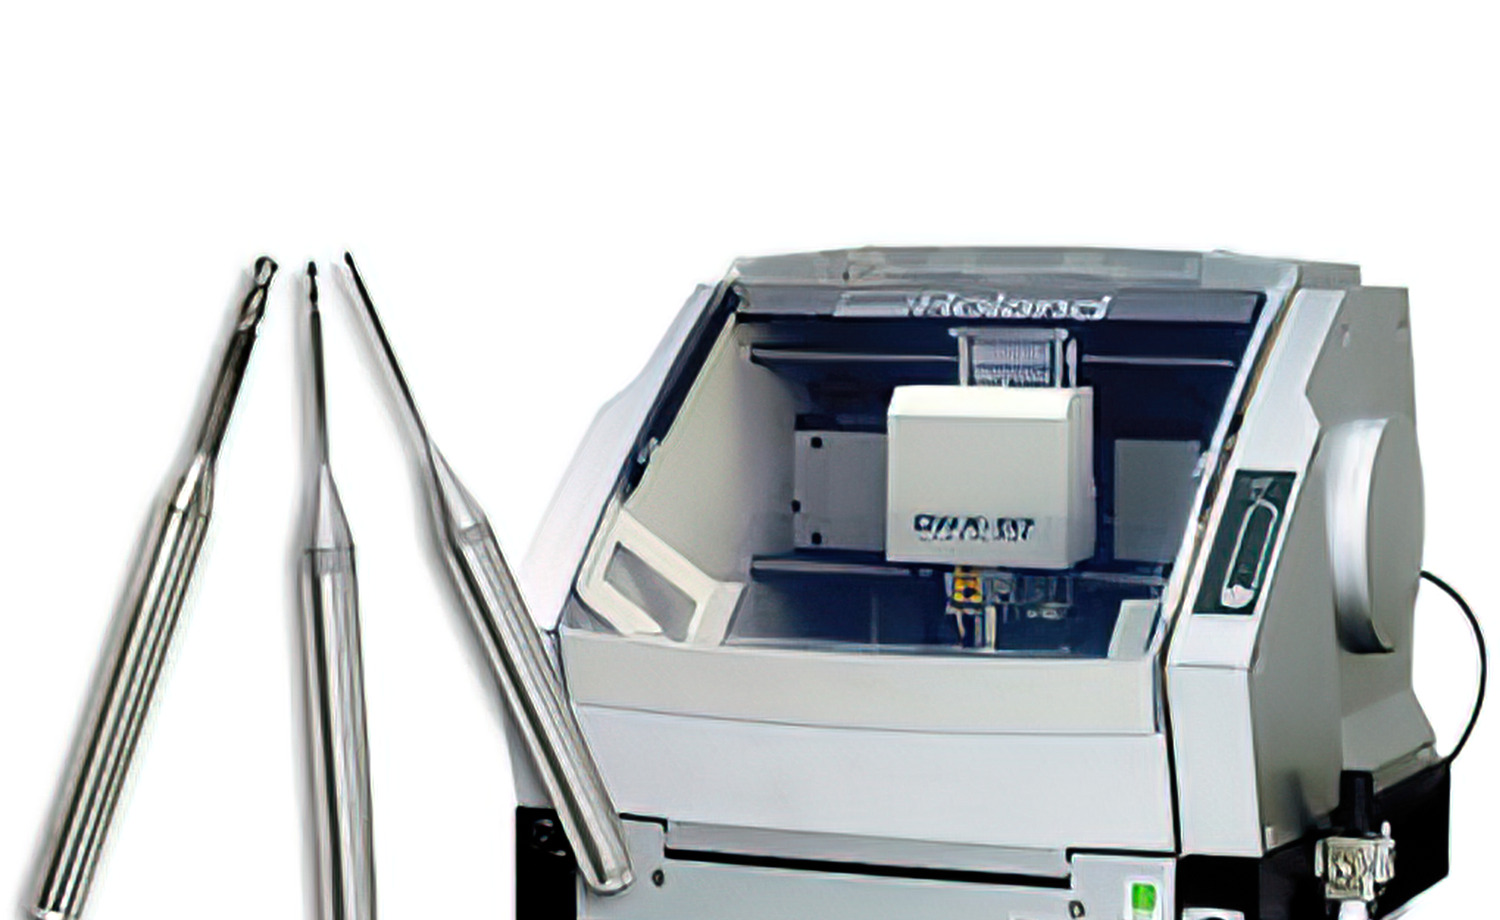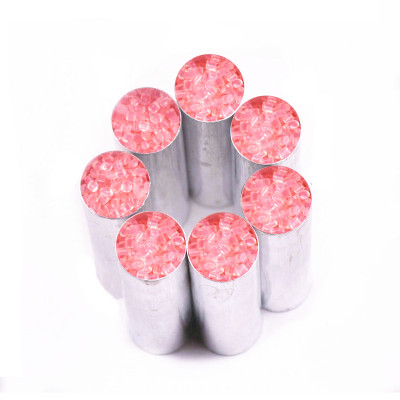
Flexsoft partial dentures offer a flexible, comfortable alternative to conventional rigid partial dentures. Made from a thermoplastic resin, Flexsoft material produces lightweight appliances that adapt to natural tissue contours, resist fracture, and provide excellent aesthetics. For dental laboratories looking to deliver consistent results, mastering the Flexsoft injection process is essential.
This guide covers every stage of fabrication, from master model preparation through final polishing, so you can produce well-fitting Flexsoft partial dentures with predictable outcomes.
Why Choose Flexsoft Partial Denture Materials?
Flexsoft thermoplastic resin stands apart from traditional acrylic in several ways:
- Flexibility -- the material flexes during insertion and removal, engaging natural undercuts for retention without metal clasps
- Biocompatibility -- monomer-free composition reduces the risk of allergic reactions common with conventional acrylics
- Aesthetics -- translucent gingival shades blend with surrounding tissue, eliminating visible metal frameworks
- Durability -- high impact strength resists fracture under normal occlusal forces
- Patient comfort -- lightweight construction and smooth surfaces minimize soft-tissue irritation
These properties make Flexsoft an excellent choice for patients who struggle with conventional partial dentures due to discomfort, clasp visibility, or acrylic sensitivity. Clinicians increasingly recommend flexible thermoplastic partials for patients with thin ridges or bony prominences where rigid frameworks cause sore spots.
Step 1: Preparing the Master Model for Duplication
Proper block-out is the foundation of a well-fitting flexible partial. Before duplicating the master model, block out all undercuts that would interfere with the planned path of insertion using baseplate wax. Keep the following guidelines in mind:
- Do not relieve tooth necklines or areas where you want the material to engage for retention.
- For free-end saddle cases, leave the distal undercut of the last natural tooth unless it is excessively deep.
- When anterior teeth are also being replaced in a free-end saddle case, block out the anterior undercuts as well.
- Use a surveyor to identify the path of insertion and mark the survey line on each abutment tooth before block-out.
Thorough block-out at this stage prevents distortion during injection and ensures the finished appliance seats fully on the ridge.
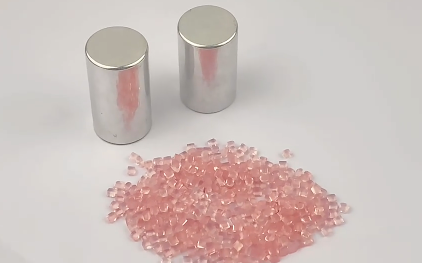
Step 2: Duplication and Set-Up
Duplicate the blocked-out master model using a silicone or agar duplicating material. Articulate both the duplicate and the original master model -- you will need the master model on the articulator later to verify occlusion during finishing.
Set up the prosthetic teeth on the duplicate model using wax only (no baseplate). Allow approximately 1 mm of wax thickness beneath each tooth so the resin can flow to the labial side and into the retention diatorics. Use a small round tungsten carbide bur to cut mechanical retention grooves in the teeth from mesial to distal, connecting each groove to the center diatoric hole. Confirm that each groove is deep enough to provide mechanical lock yet shallow enough to avoid weakening the tooth.
Step 3: Wax-Up Specifications
Wax the case with full anatomical contours. Accurate waxing reduces grinding during the finishing stage, preserving material properties and saving bench time. Sculpt natural gingival stippling and scalloped margins so the finished prosthesis requires minimal adjustment. Follow these recommended thicknesses:
| Area | Recommended Thickness |
|---|---|
| Palatal plate | 1.2 -- 1.5 mm |
| Buccal and labial flanges | 1.2 -- 2.0 mm |
| Clasps | 1.0 -- 1.5 mm |
| Lingual flange | 1.2 -- 2.0 mm |
| Lingual major connector (mandibular) | 1.7 -- 2.0 mm |
Maintaining these dimensions ensures adequate strength while keeping the appliance thin enough for patient comfort. Thicknesses below the minimum risk fracture under function, while excessive bulk compromises the flexibility that makes Flexsoft appealing.
Step 4: Investing and Spruing
Invest the waxed case in the center of the flask with the posterior portion aimed toward the sprue opening. After the stone sets, attach two sprues from the flask opening to the most posterior portion of the wax on both sides. Each sprue should be approximately 7 mm wide.
Avoid sharp angles in the sprue channels. Heated resin must flow in a straight or gently curved path to fill the mold completely. Once spruing is complete, apply a thin layer of petroleum jelly over the entire stone surface and invest the top half of the flask.
Step 5: Wax Elimination
After the investing stone has fully set, place the flask in boiling water for eight minutes. Open the flask and flush out all wax residue thoroughly -- any remaining wax will cause voids or surface contamination in the final appliance.
Allow the flask to cool, then apply thin, even coats of separator to all stone surfaces. Let each coat dry completely before applying the next. Do not apply separator to the prosthetic teeth, as this would prevent the resin from bonding to retention features. Close the flask once the separator is fully dry.
Step 6: Injection Procedure
Safety is paramount during injection. Wear safety goggles and heat-protective gloves throughout this procedure.
- Spray the inside of the cartridge sleeve with mold release and place it into the furnace.
- Preheat the furnace to approximately 290 degrees C (550 degrees F) and allow the sleeve to preheat for 15 minutes.
- Remove the Flexsoft cartridge from its foil-lined bag only at this point. Spray the cartridge and bronze disc with mold release.
- Insert the cartridge into the sleeve (cap end first), followed by the bronze disc. Use the thick disc for medium tubes and the thin disc for large tubes.
- Heat the cartridge for 12 minutes.
- Position the flask with the sprue end facing upward, directly under the press shaft.
- Remove the heated sleeve from the furnace, keeping it horizontal until it rests on the flask, then rotate to vertical.
- Inject immediately using a steady, fast downward stroke. Continue pressing until the tube bursts, then maintain maximum pressure for three minutes.
Remove the sleeve with a slight twisting motion. Let the flask cool on the bench for at least 30 minutes -- never quench in cold water, as thermal shock can warp the appliance. De-flask with plaster nippers rather than a hammer to avoid cracking the resin.
Important: The cartridge must be injected within one hour of opening the foil pouch, and the sleeve must be preheated for 10 minutes before each subsequent injection.
Step 7: Finishing and Polishing
Remove the appliance from the model and cut the sprues with a cut-off wheel. Trim flange edges with a coarse grinding wheel, taking care to avoid overheating the resin. Smooth any scratches with rubber polishing wheels.
Place the appliance on the articulated master model to verify fit, retention, thickness, and occlusion. Clean the tissue surface with a small bristle brush to remove debris. For final polishing:
- Apply a coarse dental abrasive such as pumice on a wet rag wheel.
- Follow with a high-shine compound on a final buff wheel at low speed.
- Avoid excessive pressure and speed to prevent overheating the material.
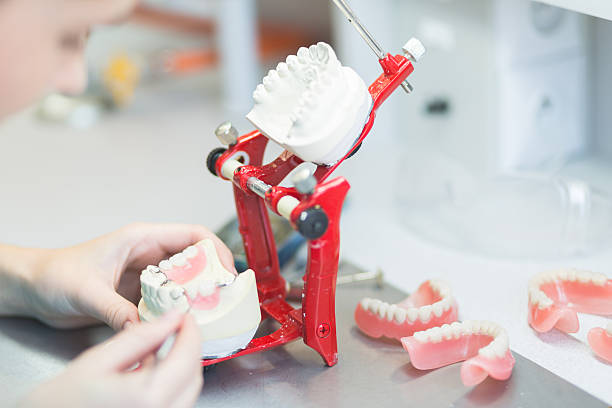
Safety Reminders and Best Practices
- Always wear eye protection and heat-resistant gloves during injection.
- Use proper ventilation, a vacuum system, and respiratory masks when grinding prosthodontic resins.
- Store unused cartridges in their sealed foil pouches at room temperature away from direct sunlight.
- Document wax-up thicknesses and injection parameters for each case to build repeatable laboratory processes.
For more information on the burs and finishing instruments used in denture fabrication, see our guide to dental polishers and browse our full range of laboratory accessories.
![How to Use a Die Grinder: Bit Guide, Setup & Pro Tips [2026]](https://www.burdental.com/image/catalog/Blog/20220606/Equipment-DieGrinder-Norton-Kit-lines-width-1500px-gigapixel-studio-studio.jpg)